Tutorial
This page offers a brief tutorial for getting started and adding new building options. More detailed instructions can be found in each section of the sidebar.
After signing in to your account, your project list will be empty and you will see a map of the region:
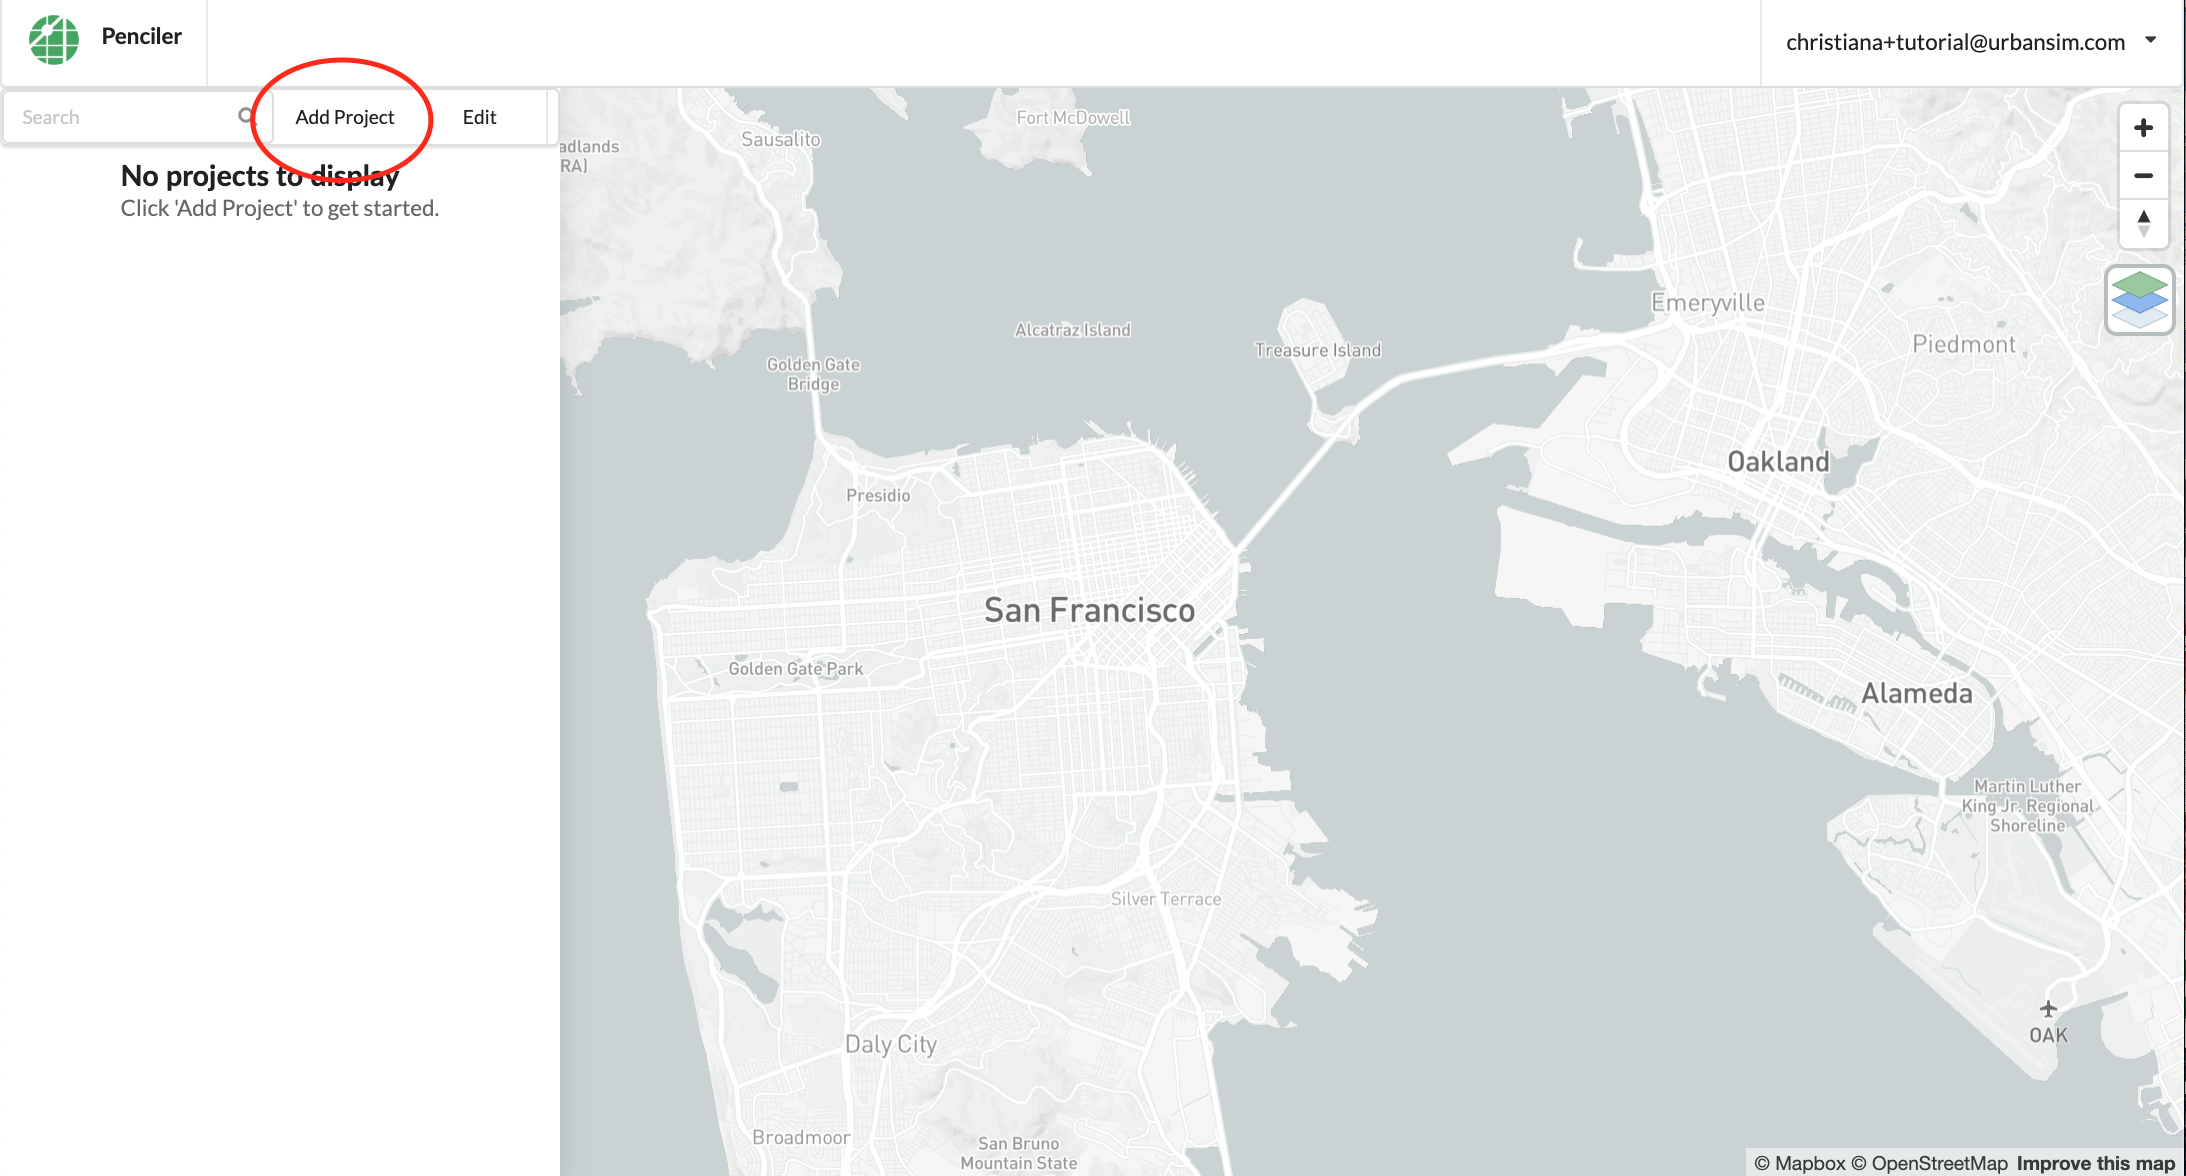
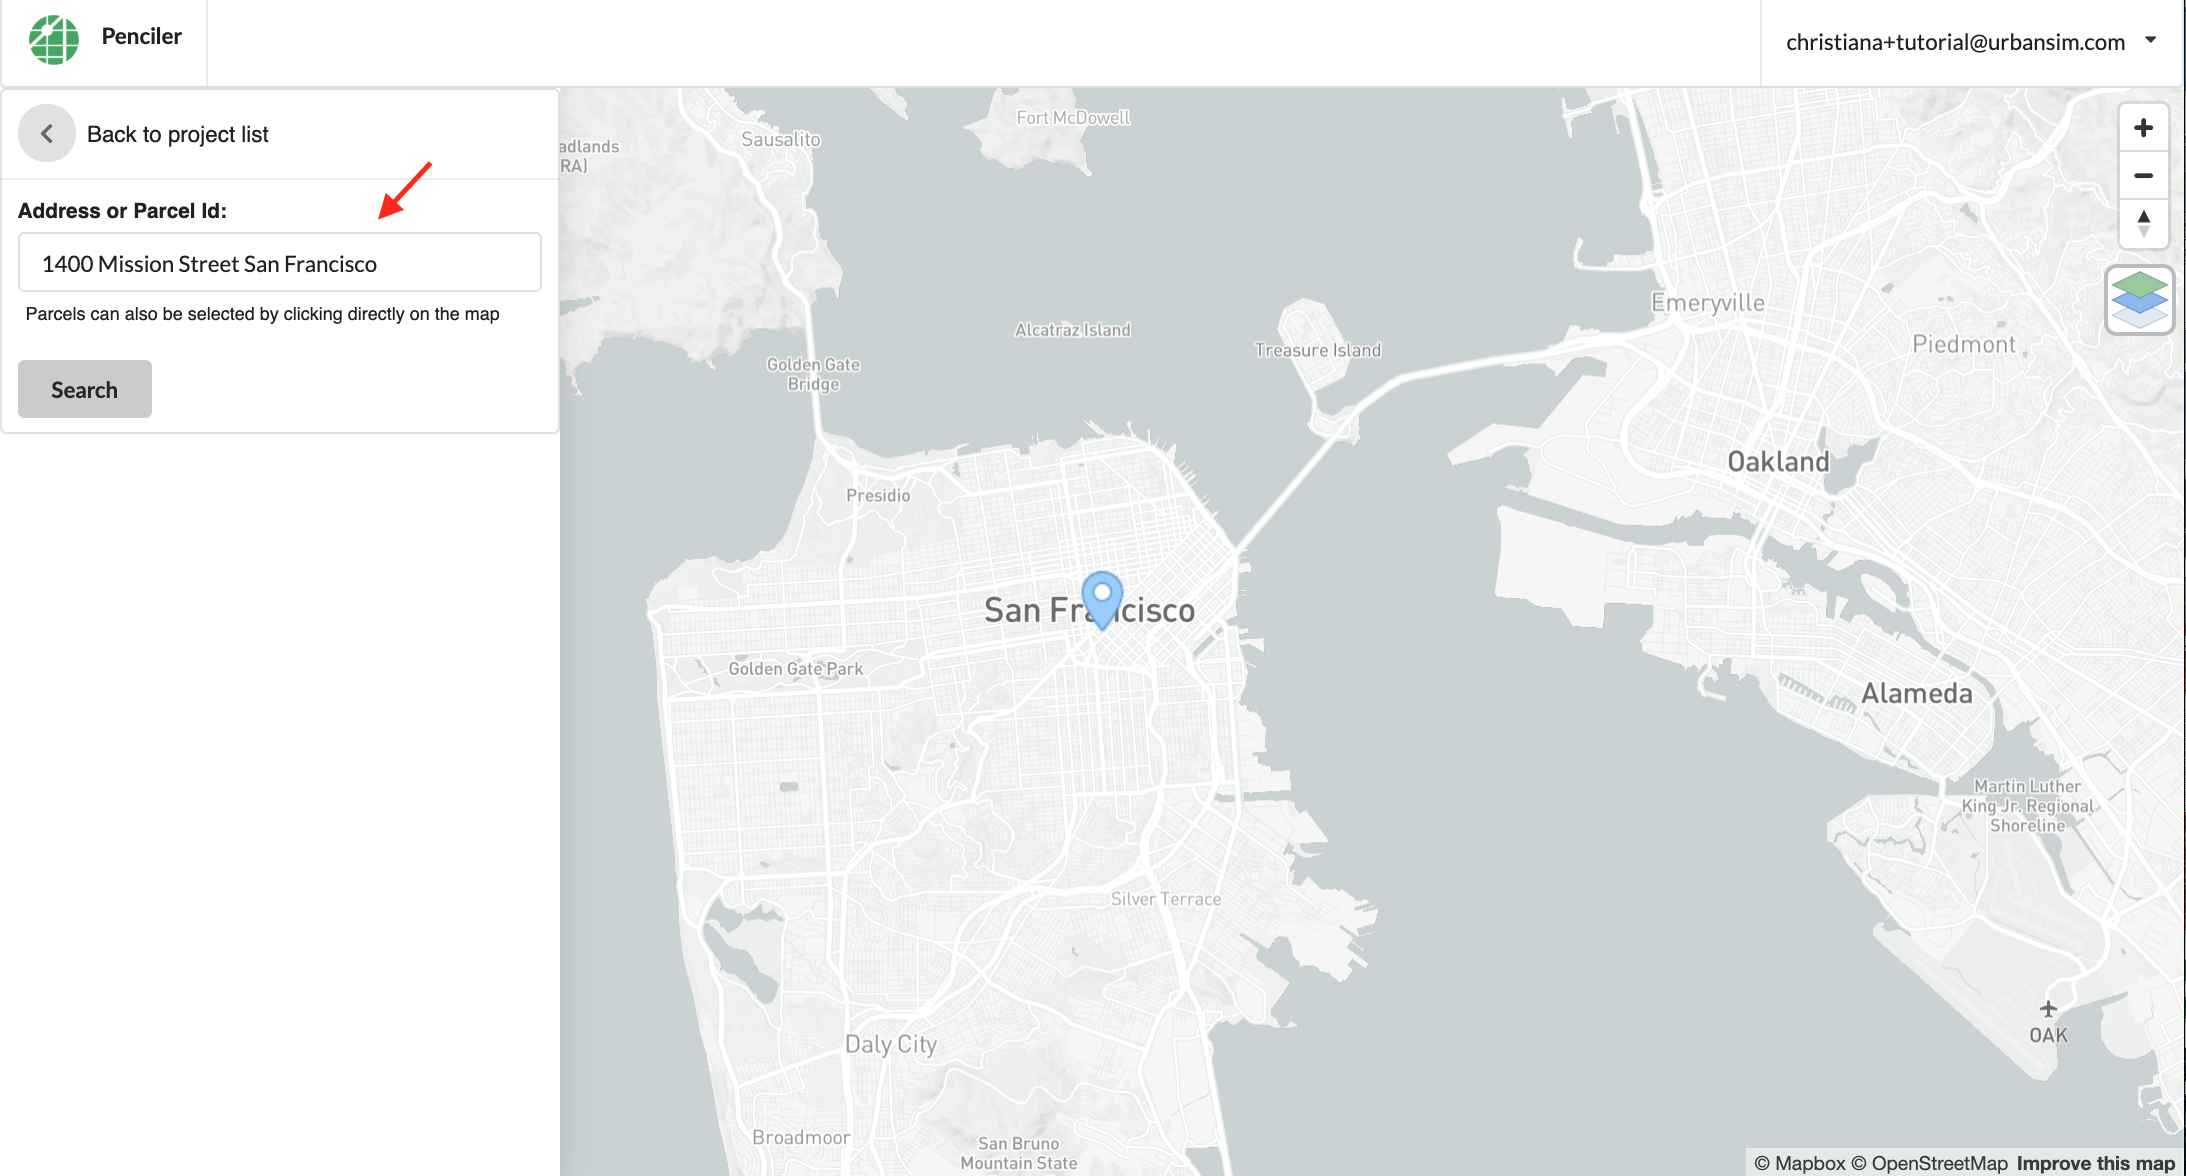
Start by searching for a site either by searching for the address:
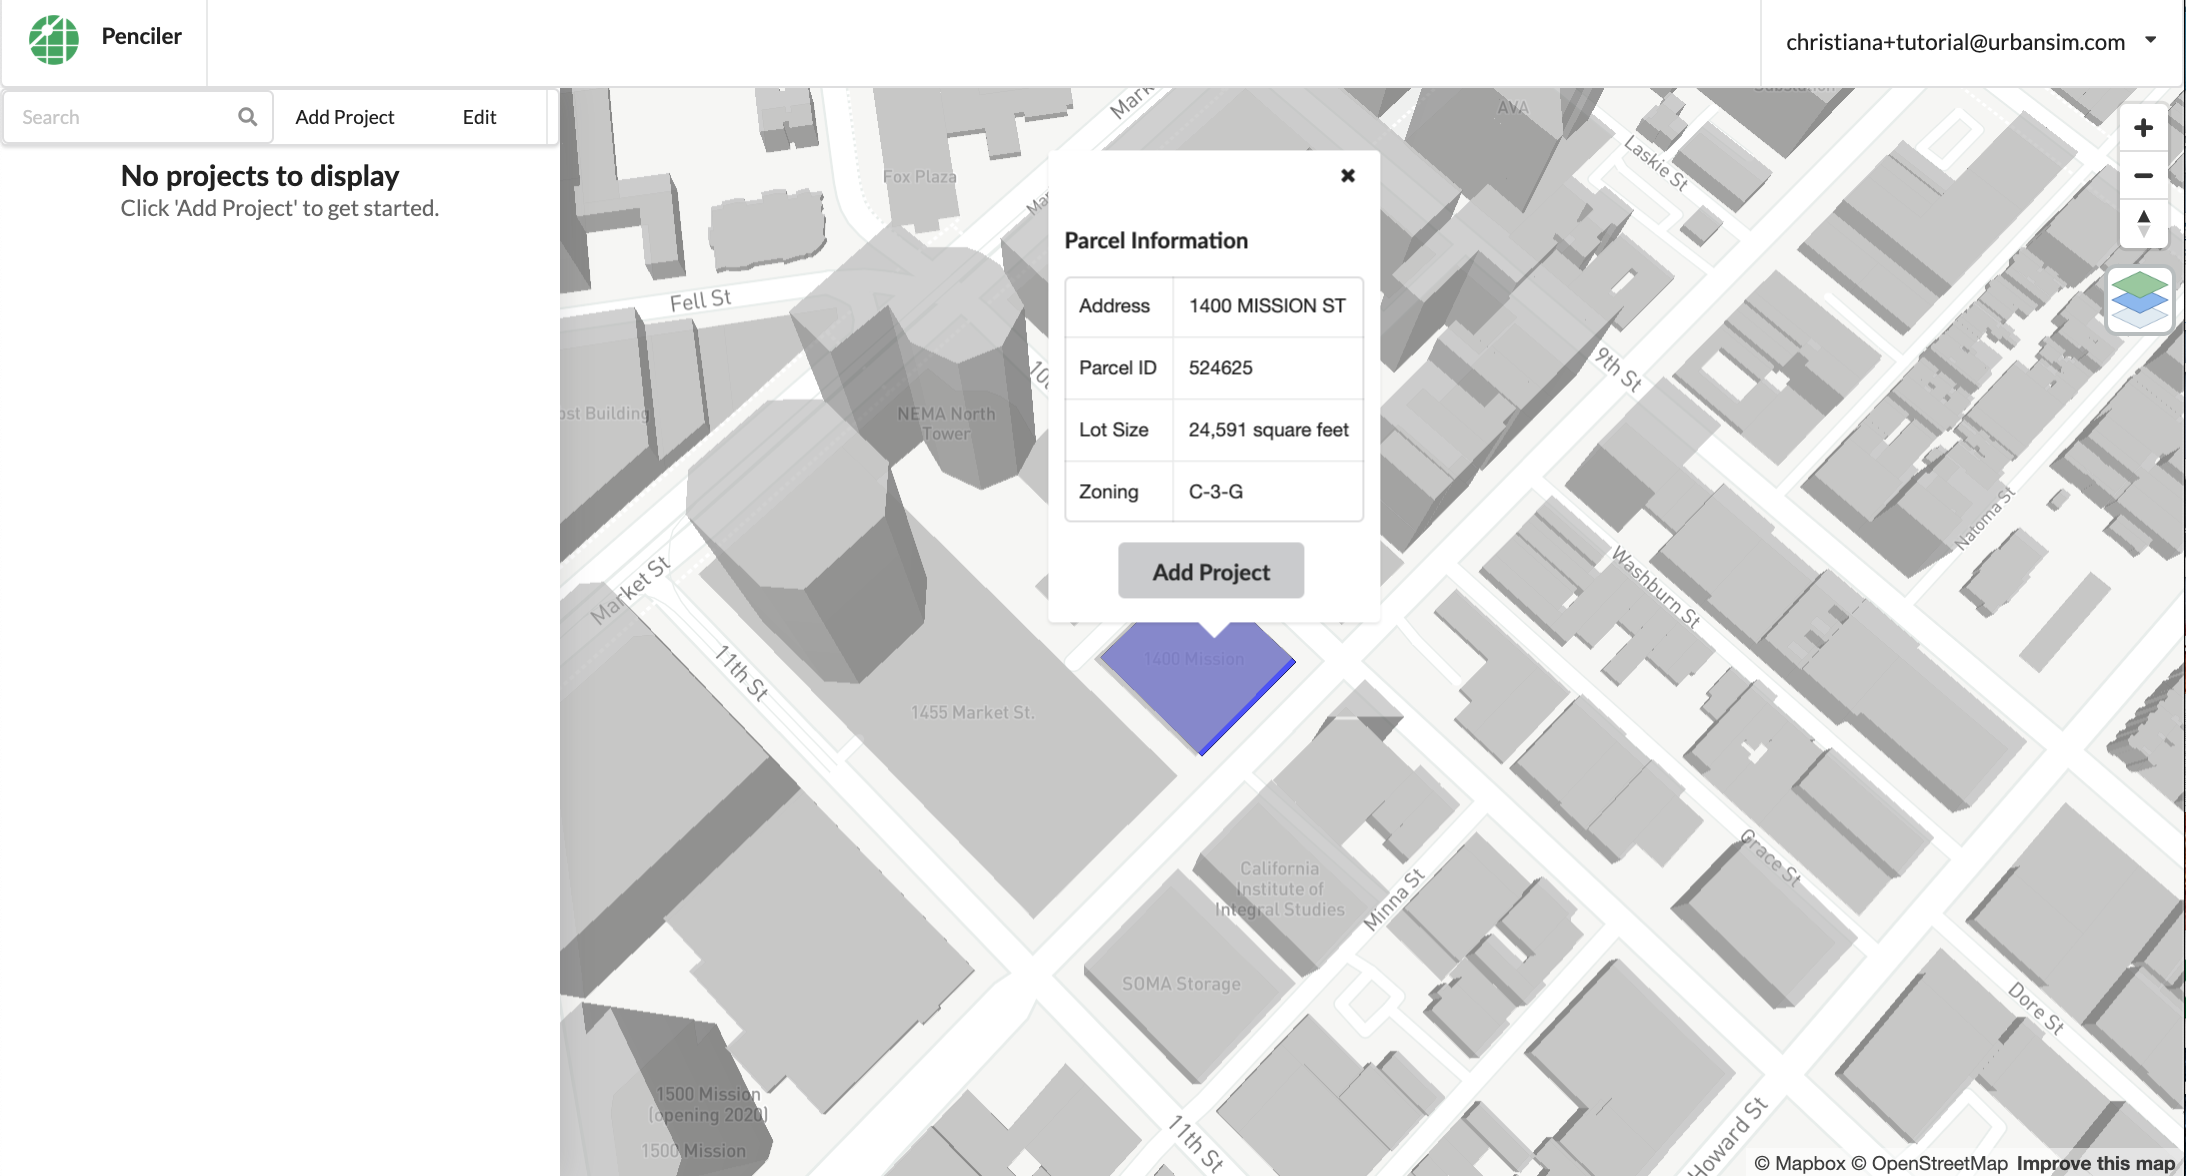
or clicking on the parcel in the map directly:
Purple parcels adjacent to the parcel you selected are parcels that can be joined to your parcel. Click on the purple parcels and select ‘Combine using original zoning’ to join them with your parcel. Once you have selected and/or joined a parcel, click on the blue edges of the parcel to assign front, side or rearyard to each side. You can choose more than one frontage (street-facing sides):
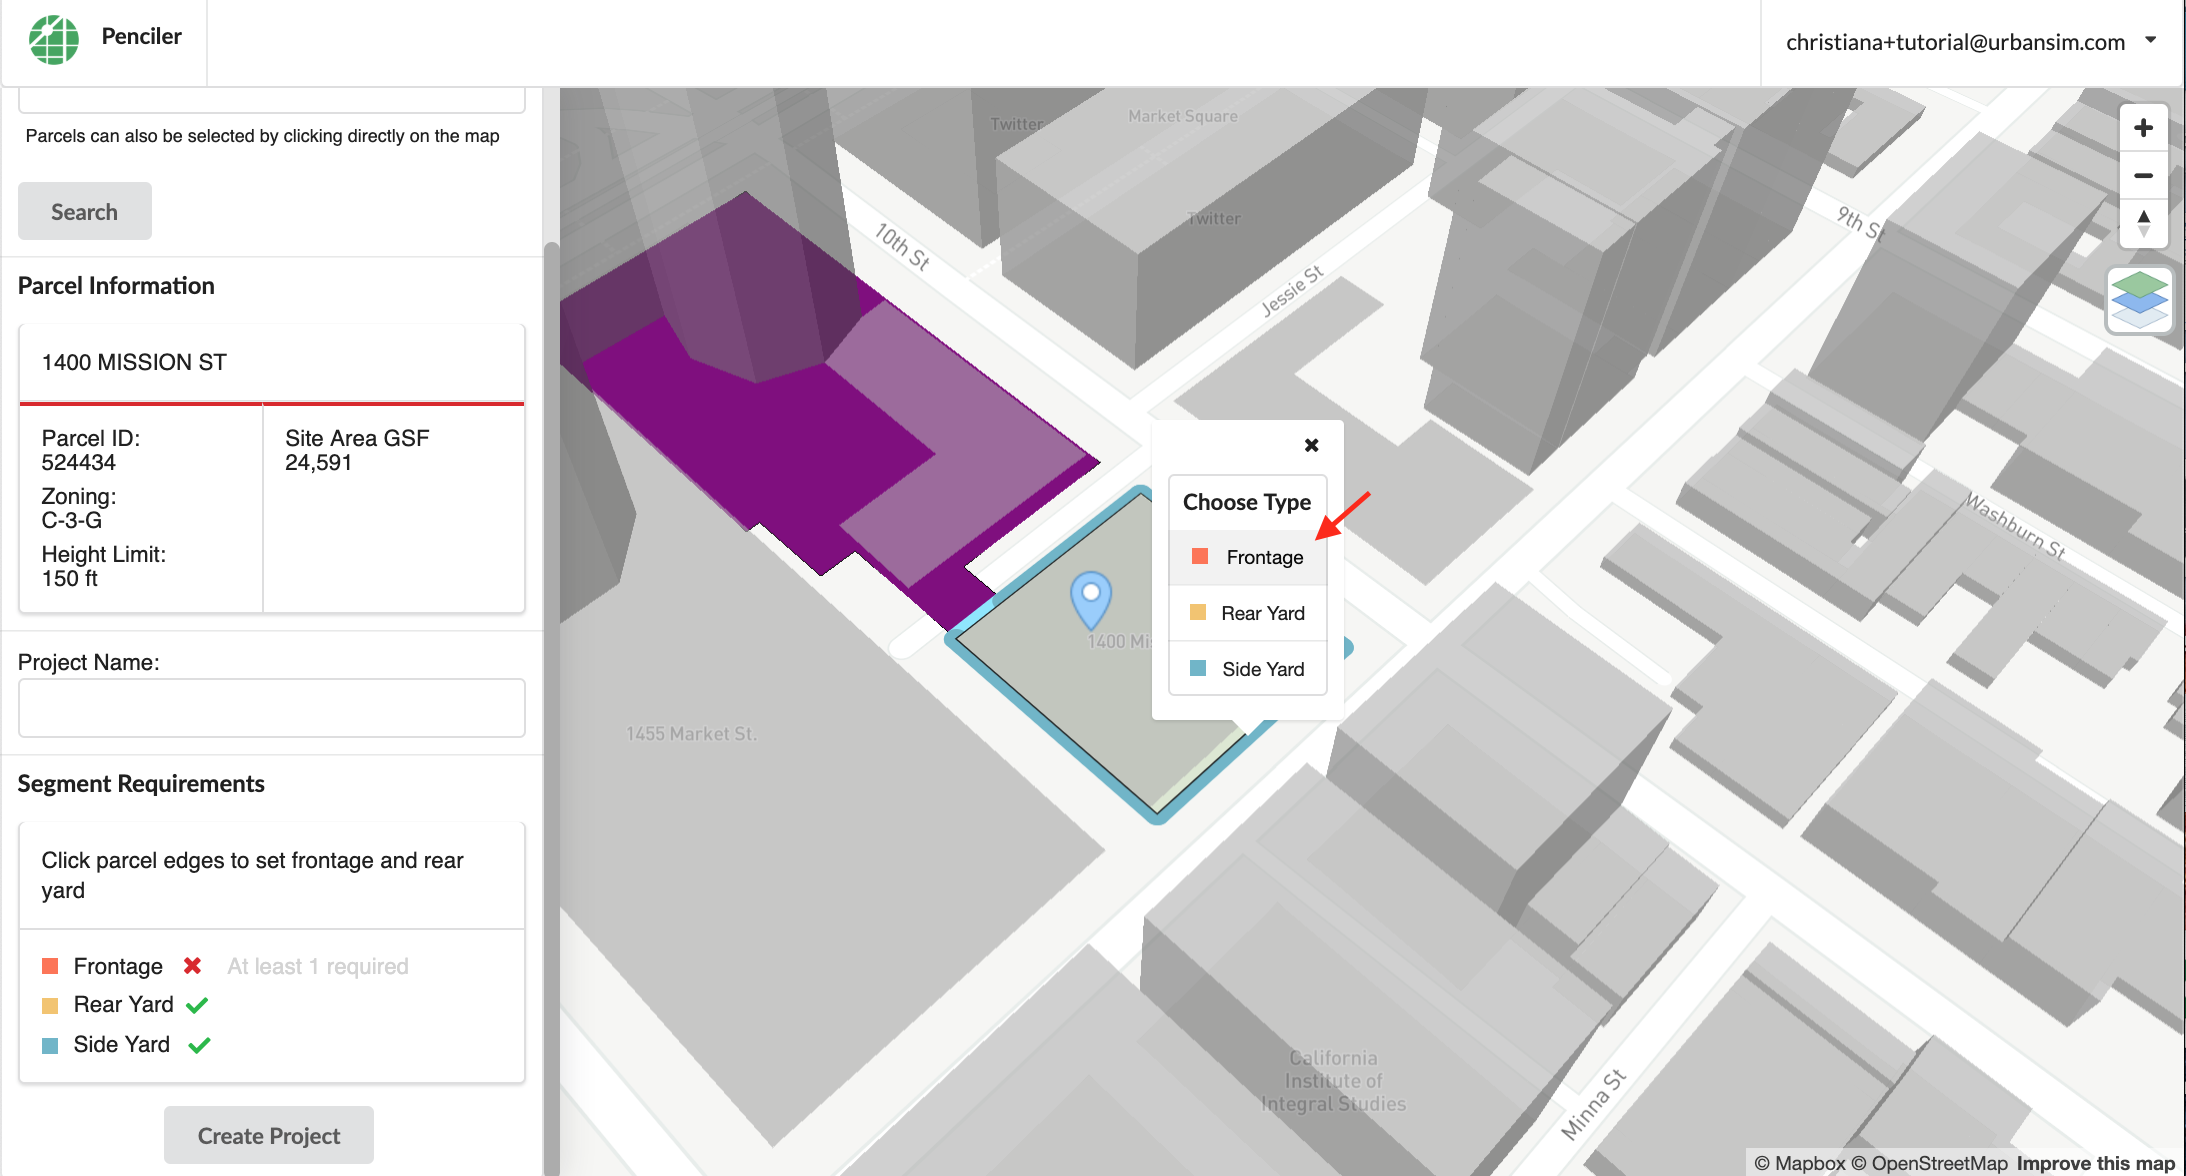
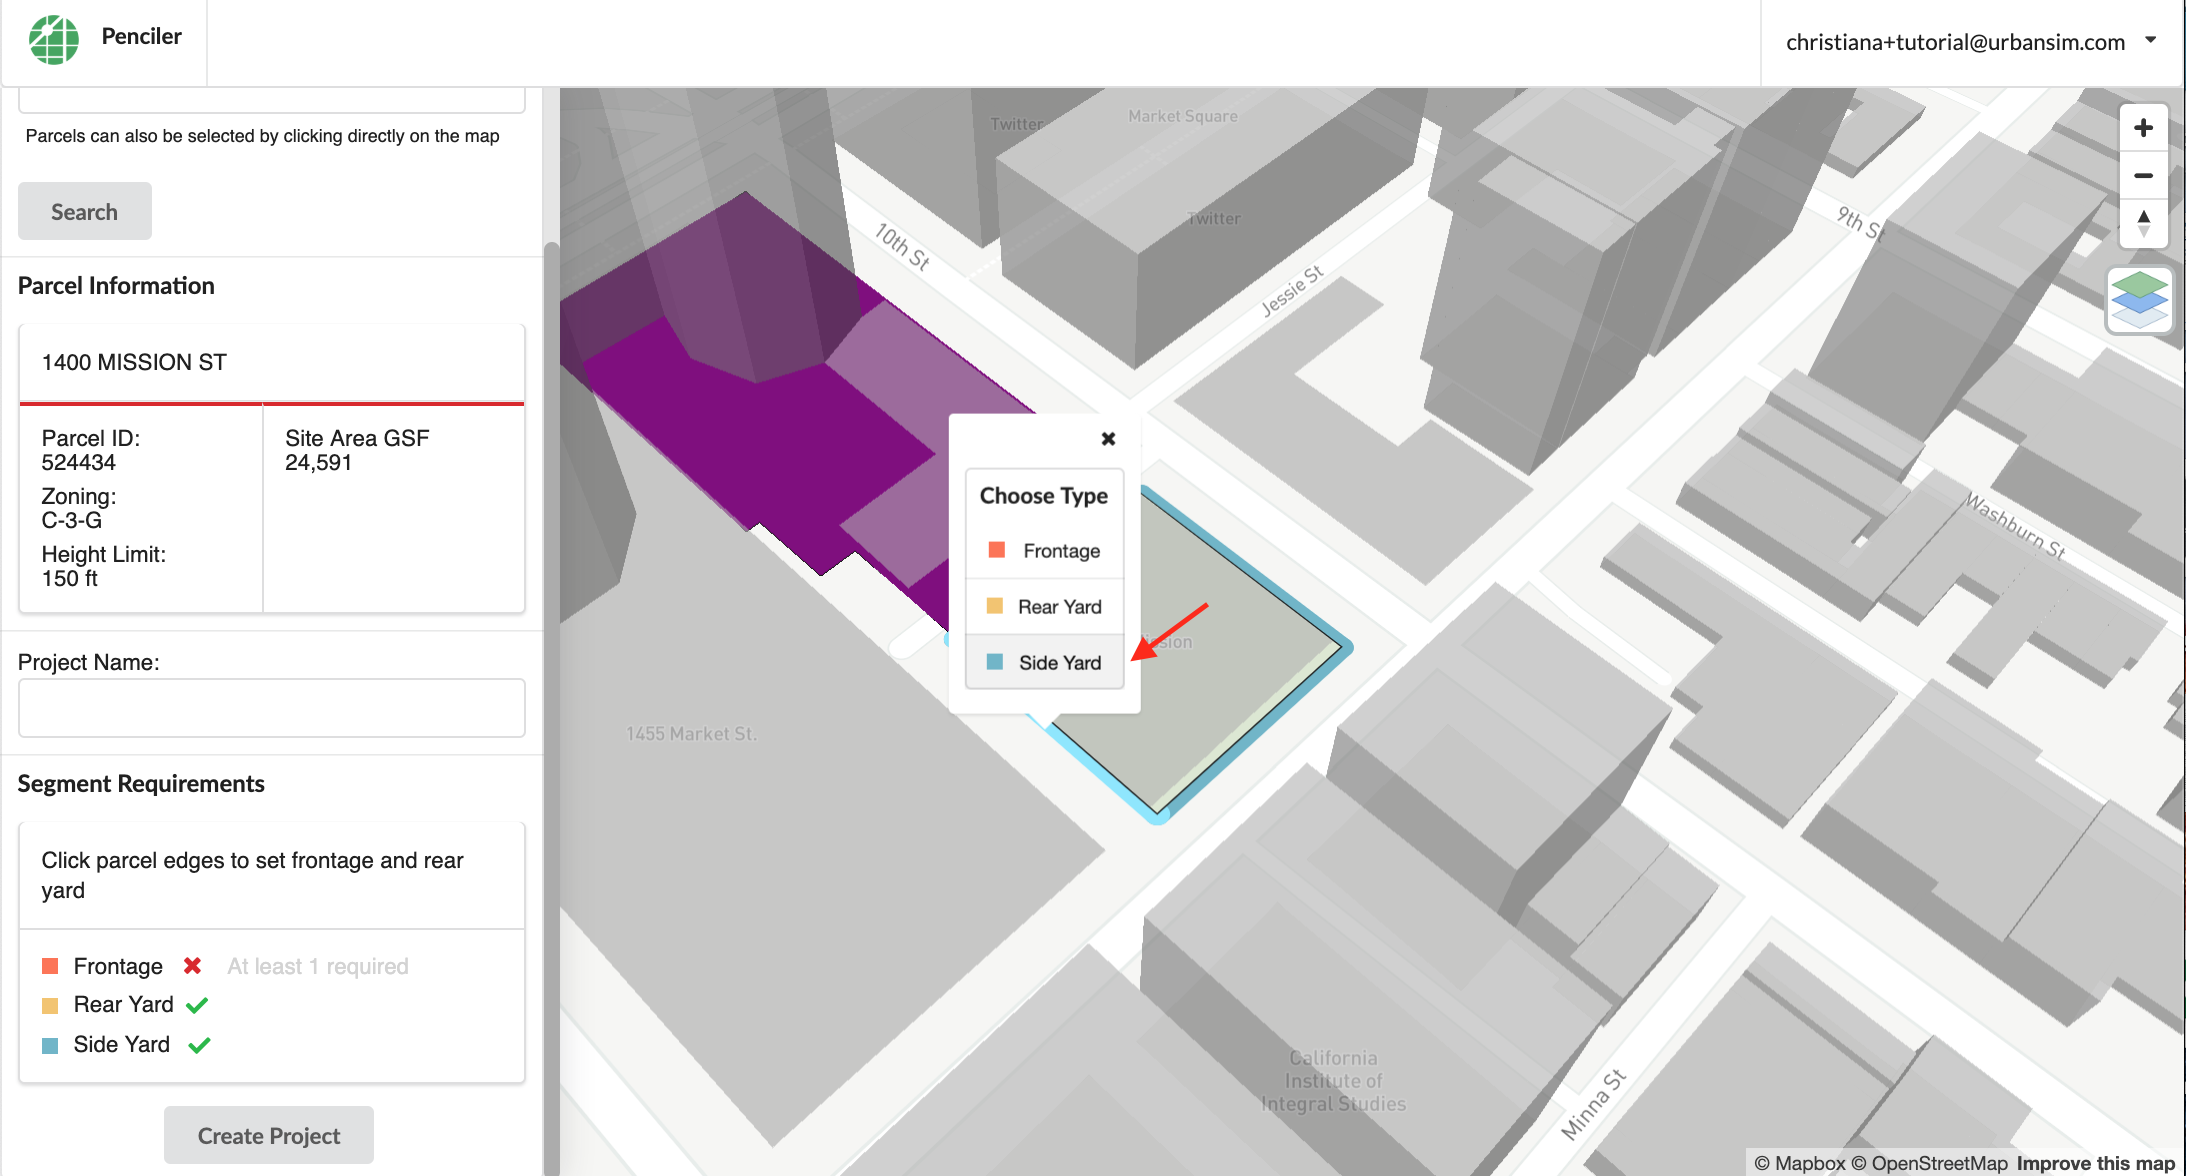
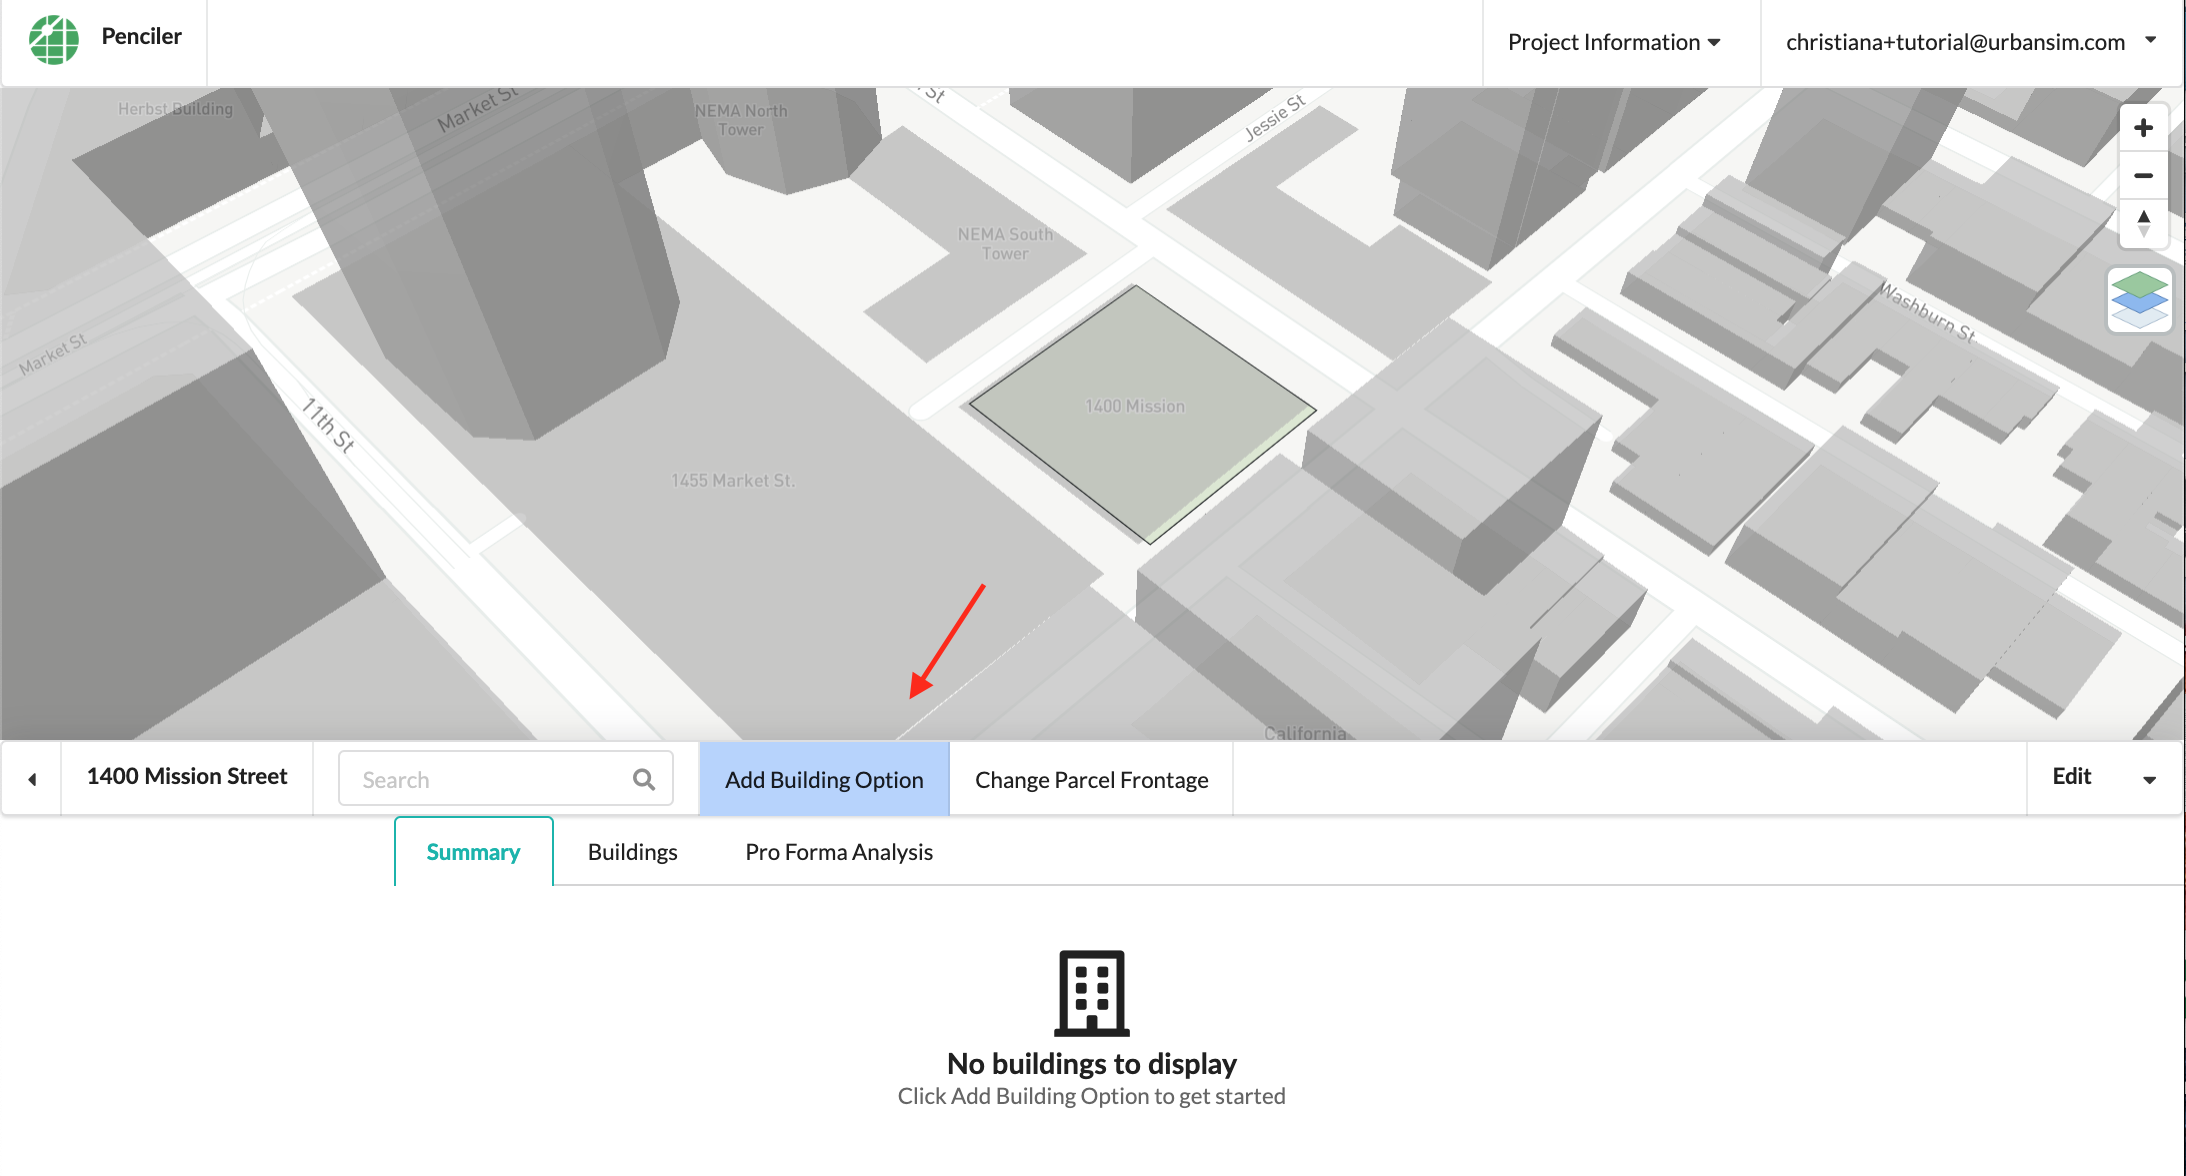
After naming your project and selecting the sides, you can start your project. For more detailed information about site selection, see here. The home page for your new project will appear blank until you add a building option:
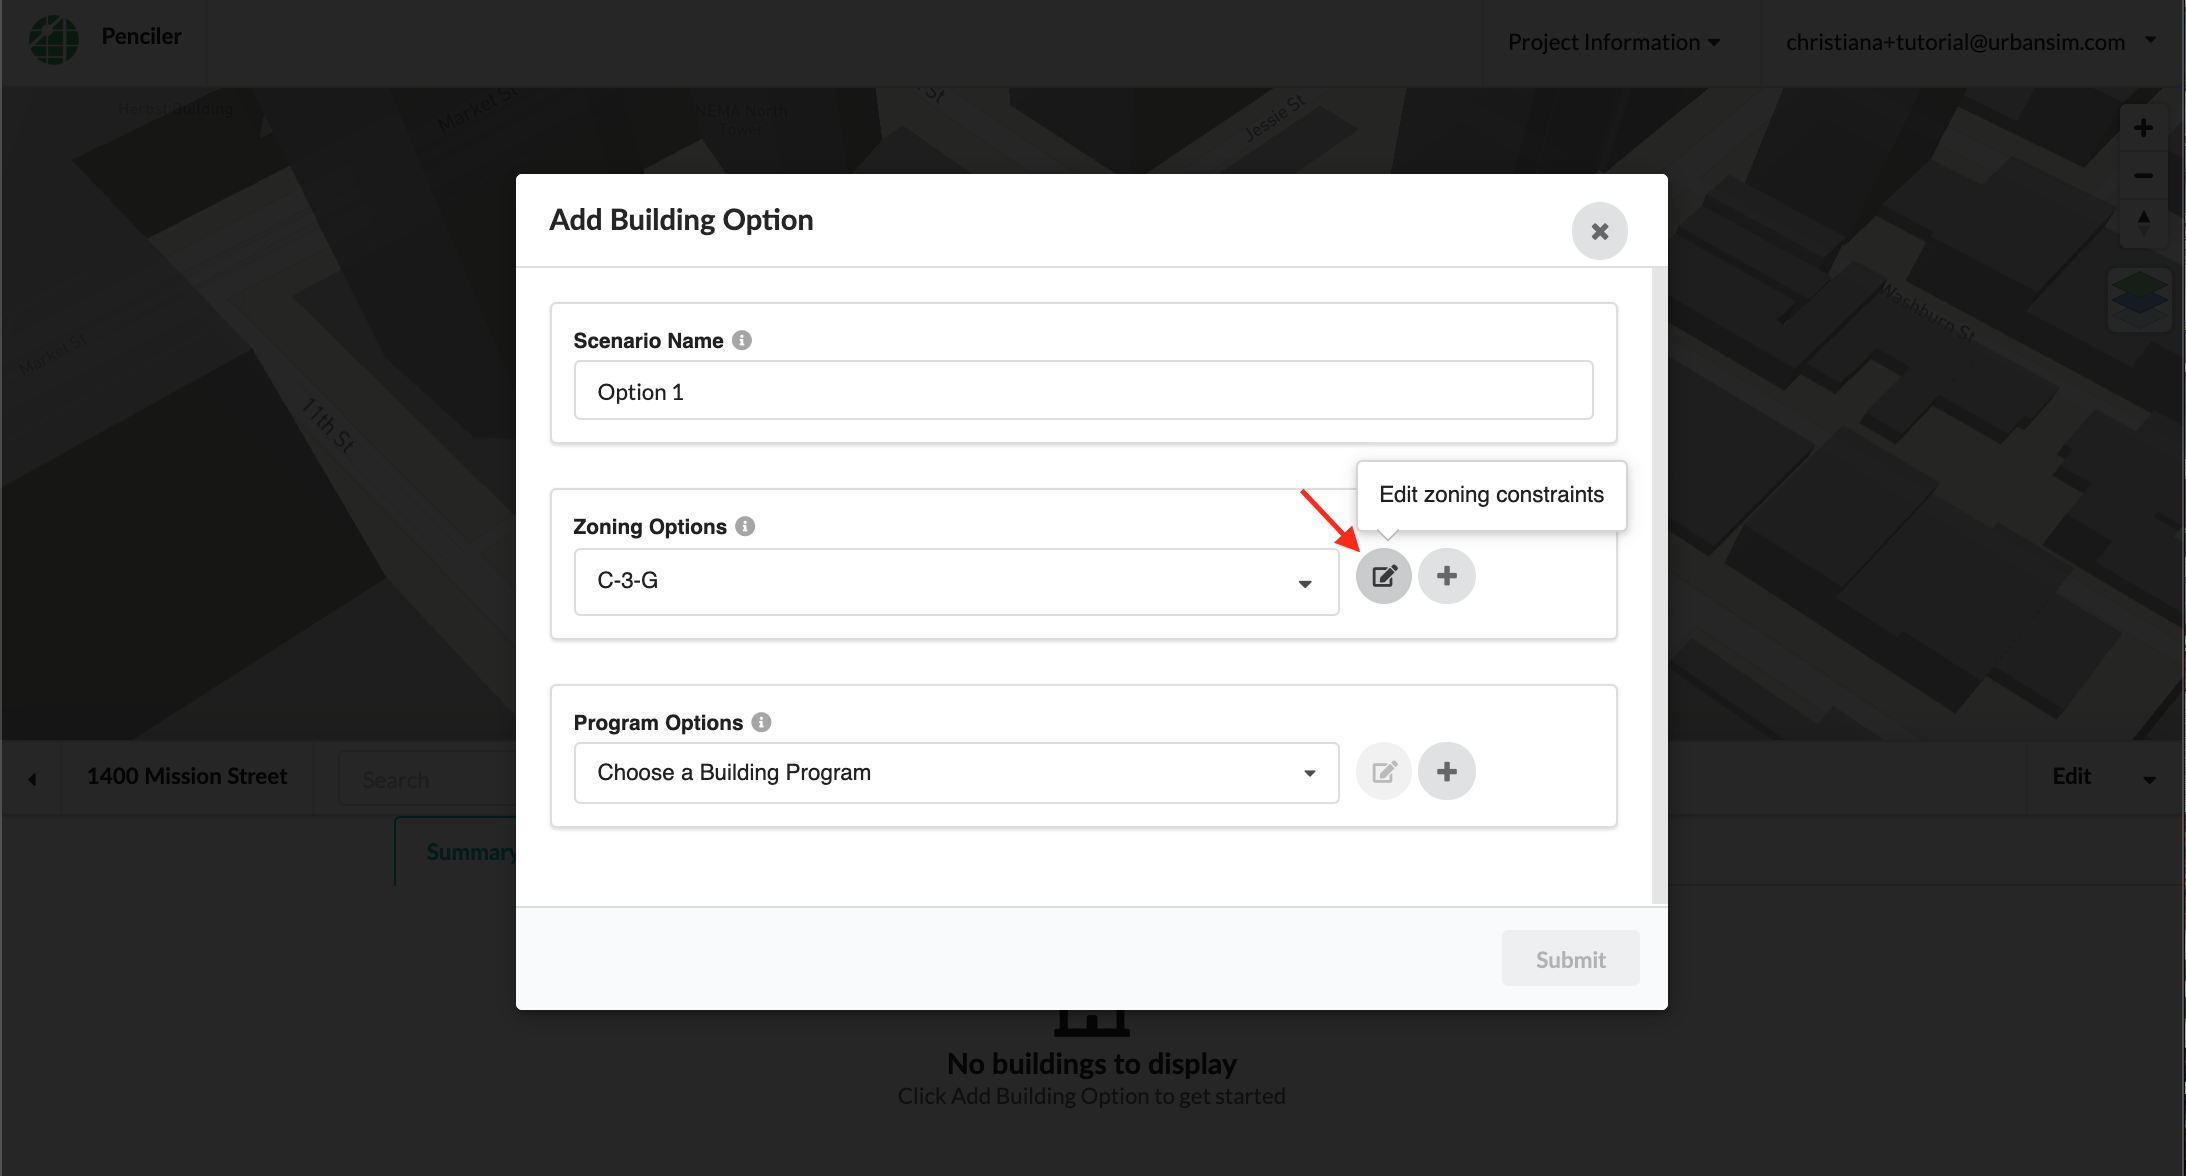
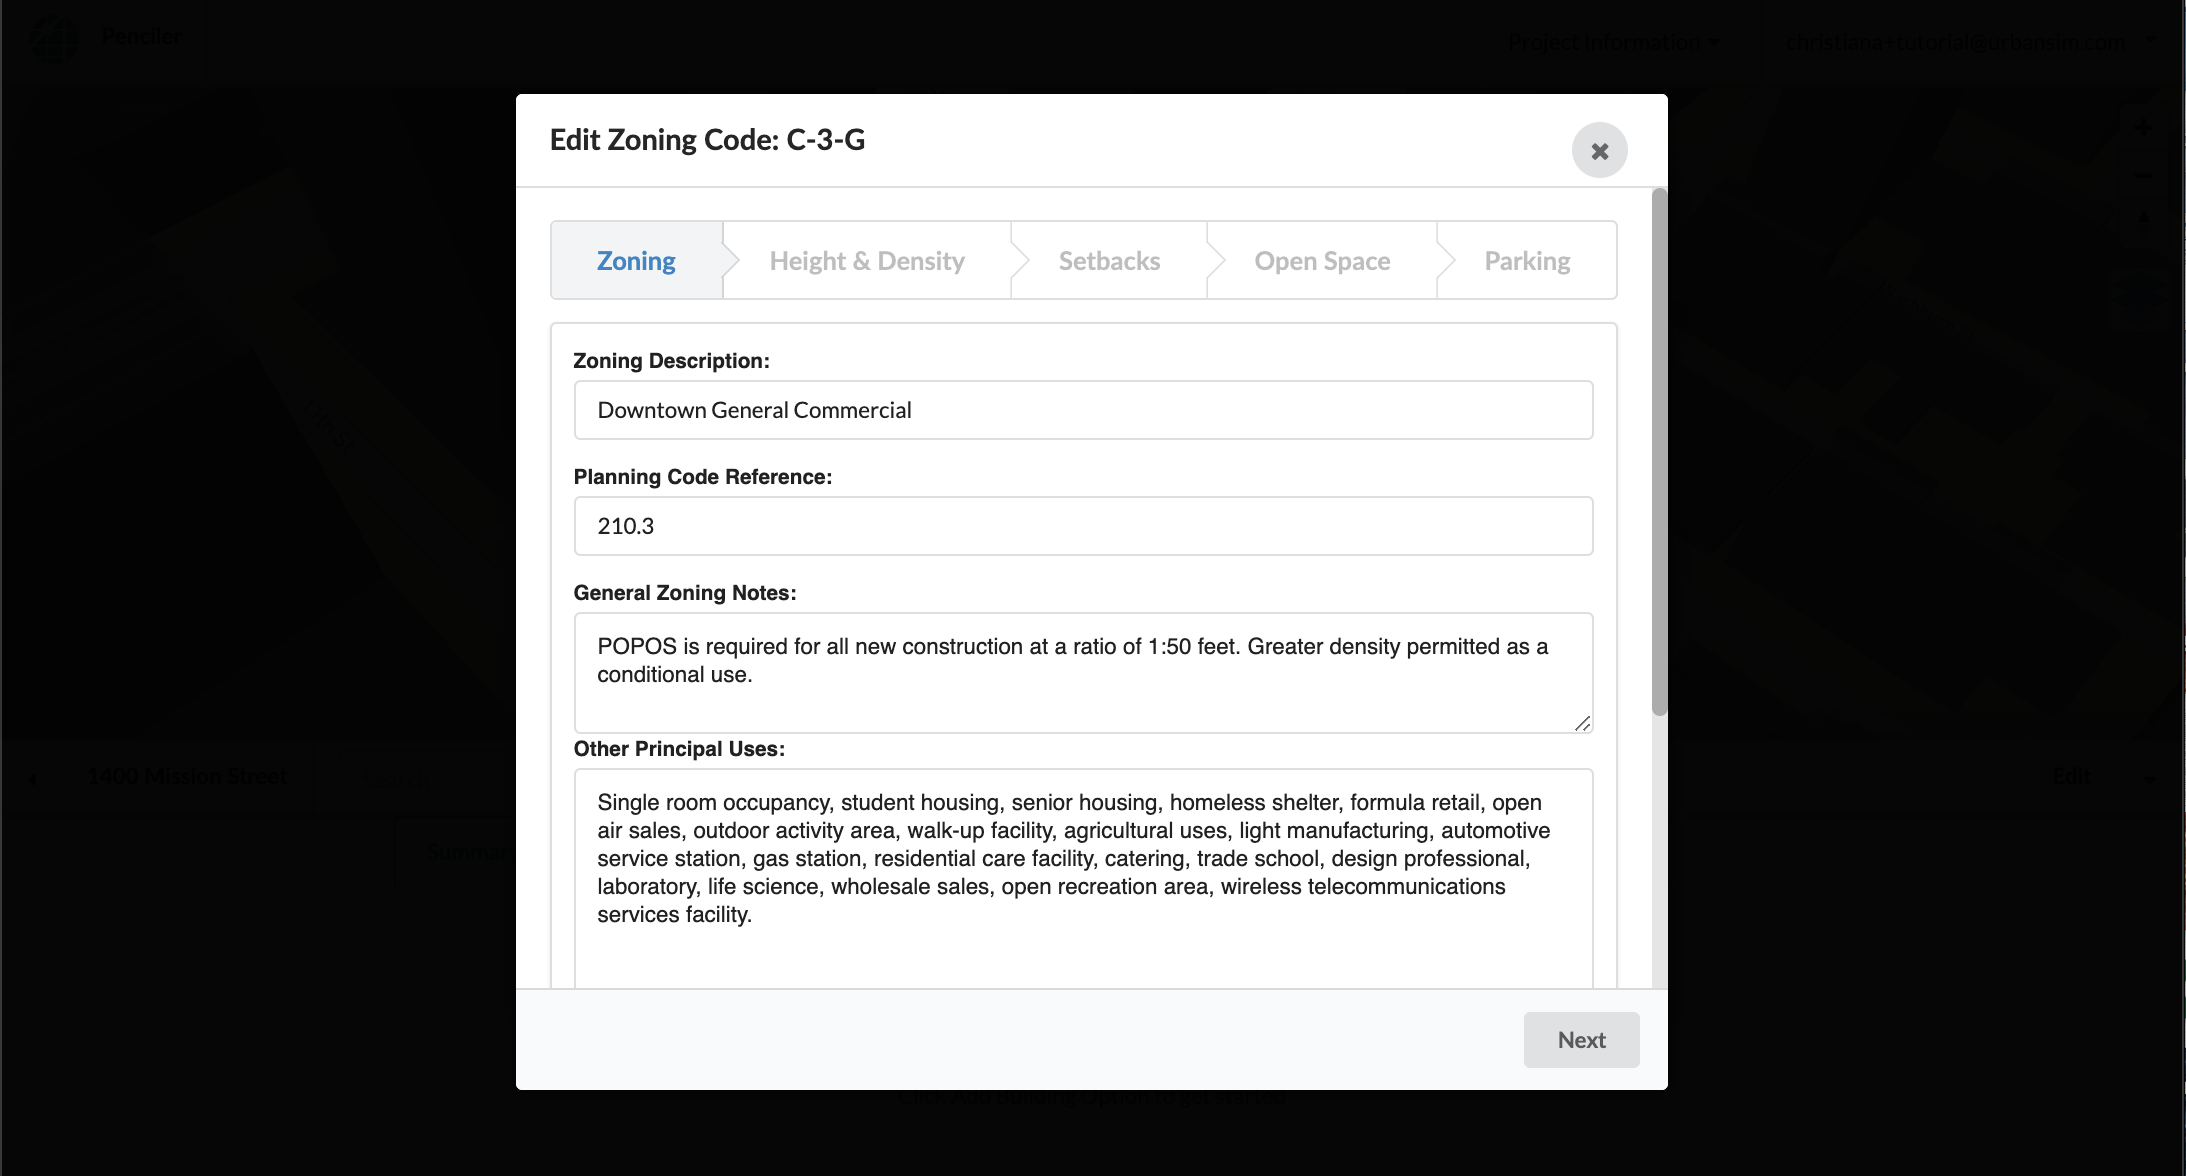
When you click ‘Add Building Option’ a wizard will pop up that will show you the zoning information for the site. Click on the ‘edit zoning constraints’ button to edit any of the zoning constraints, including height, density limit, setbacks and other constraints:
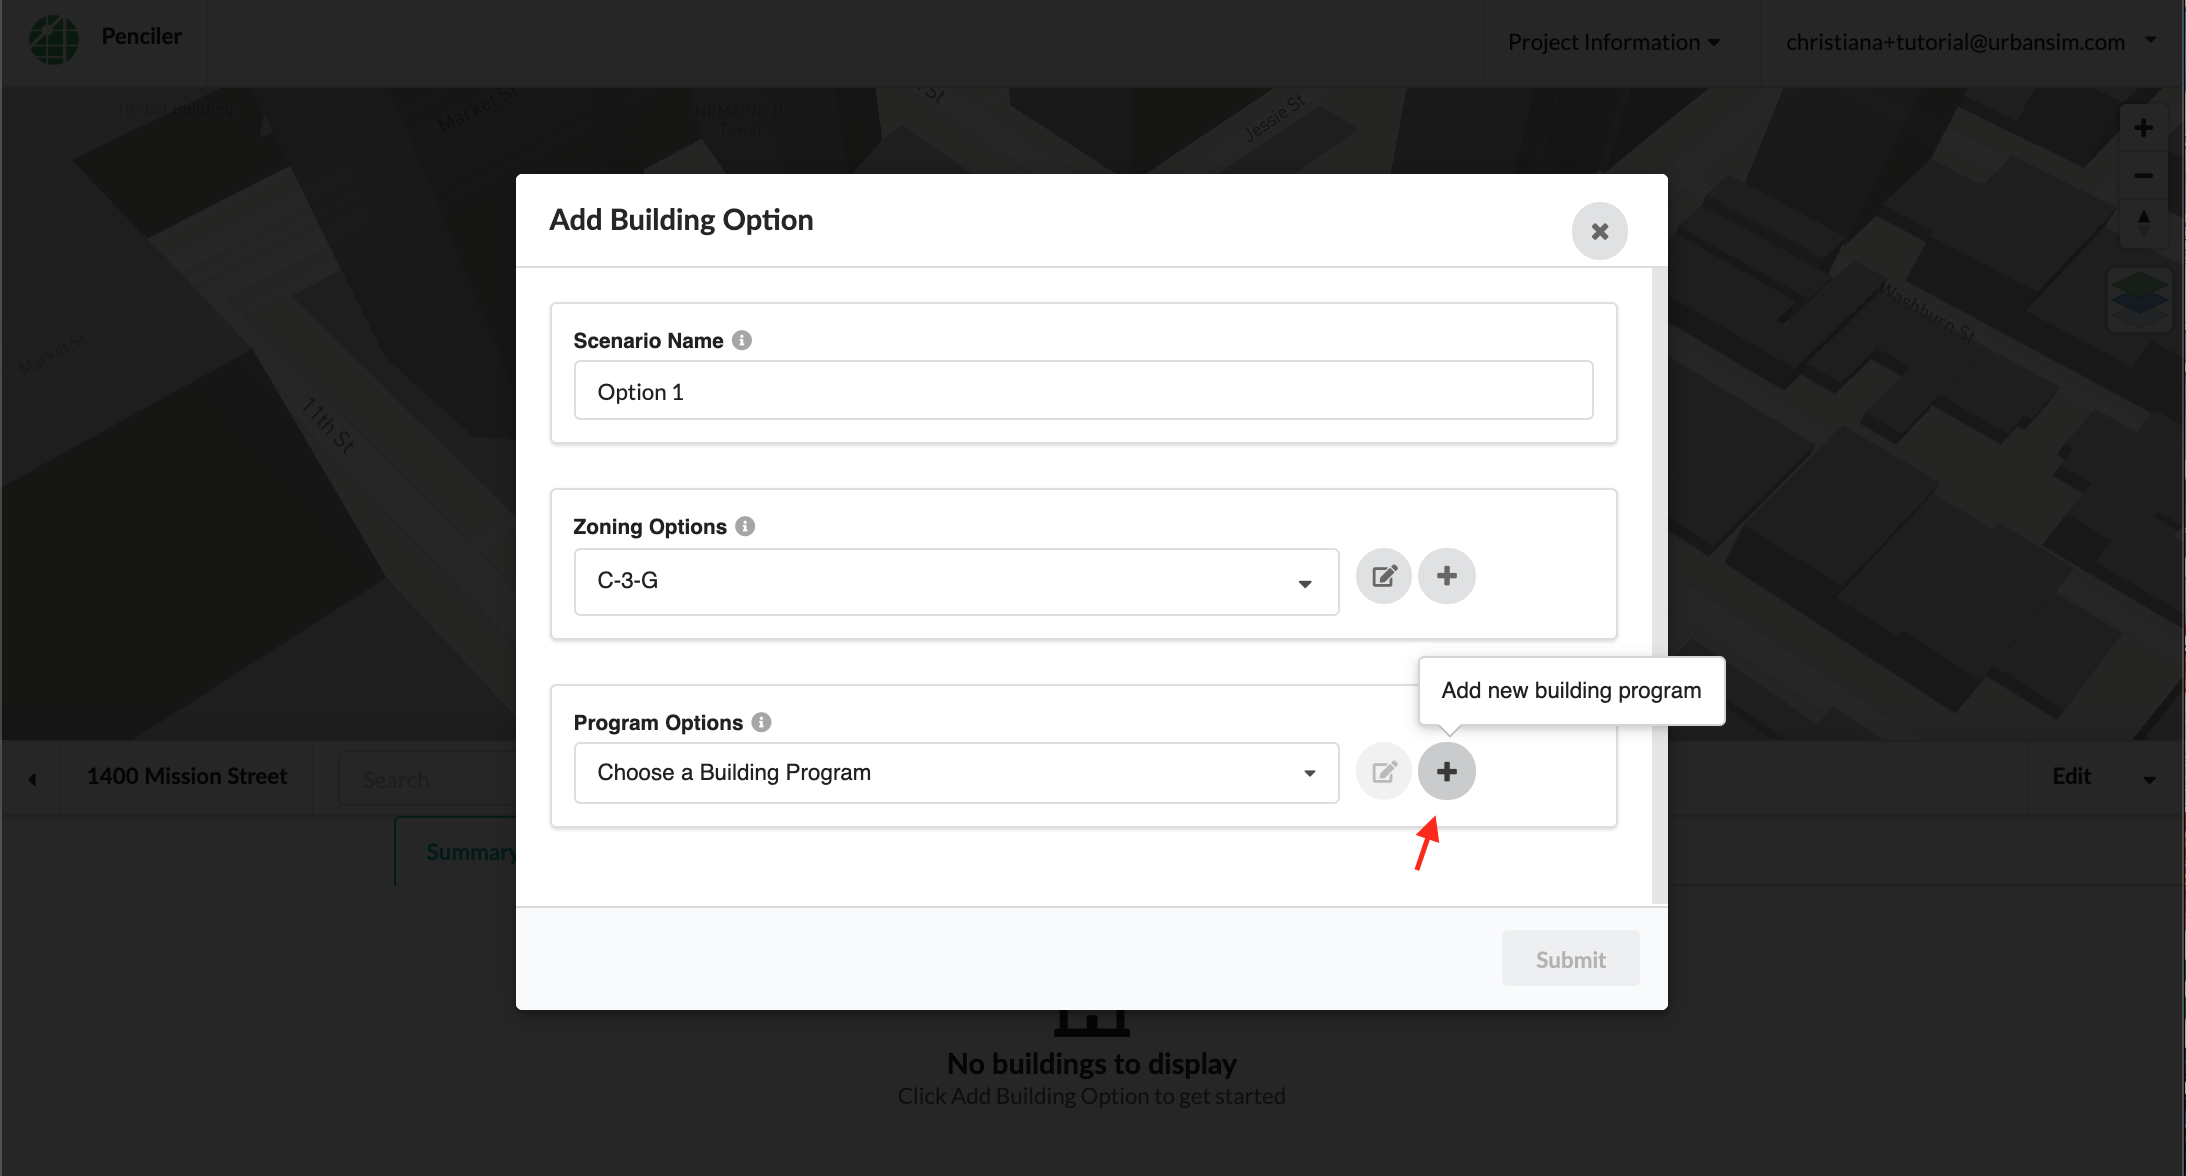
Click ‘Add new building program’ to input the basic building program requirements for your multifamily building option. For information about the Single-Family-Attached building typology, see here.
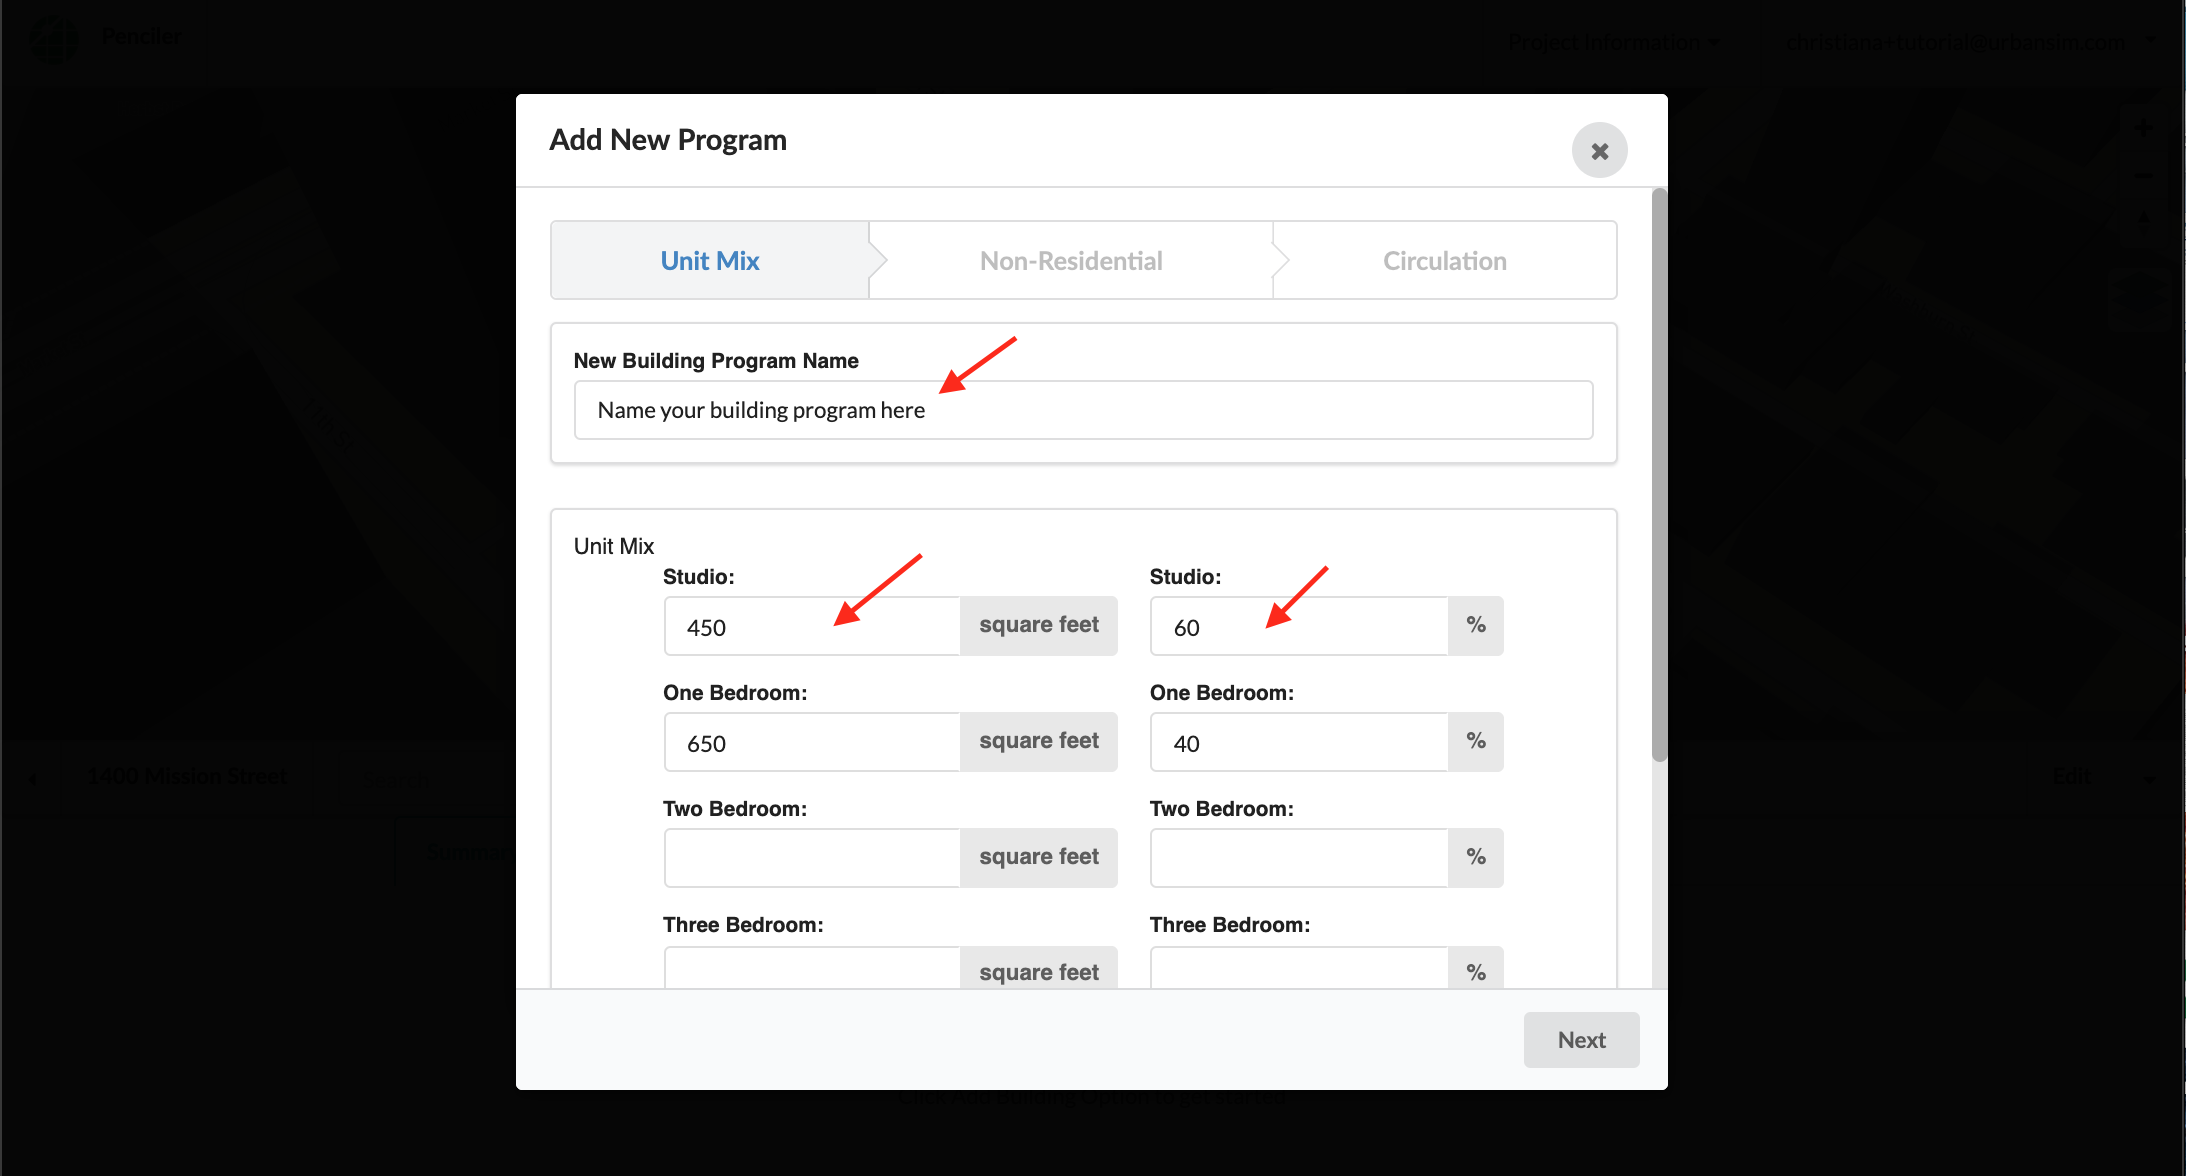
Building program includes unit mix, minimum unit sizes, residential floor height and ground floor commercial retail:
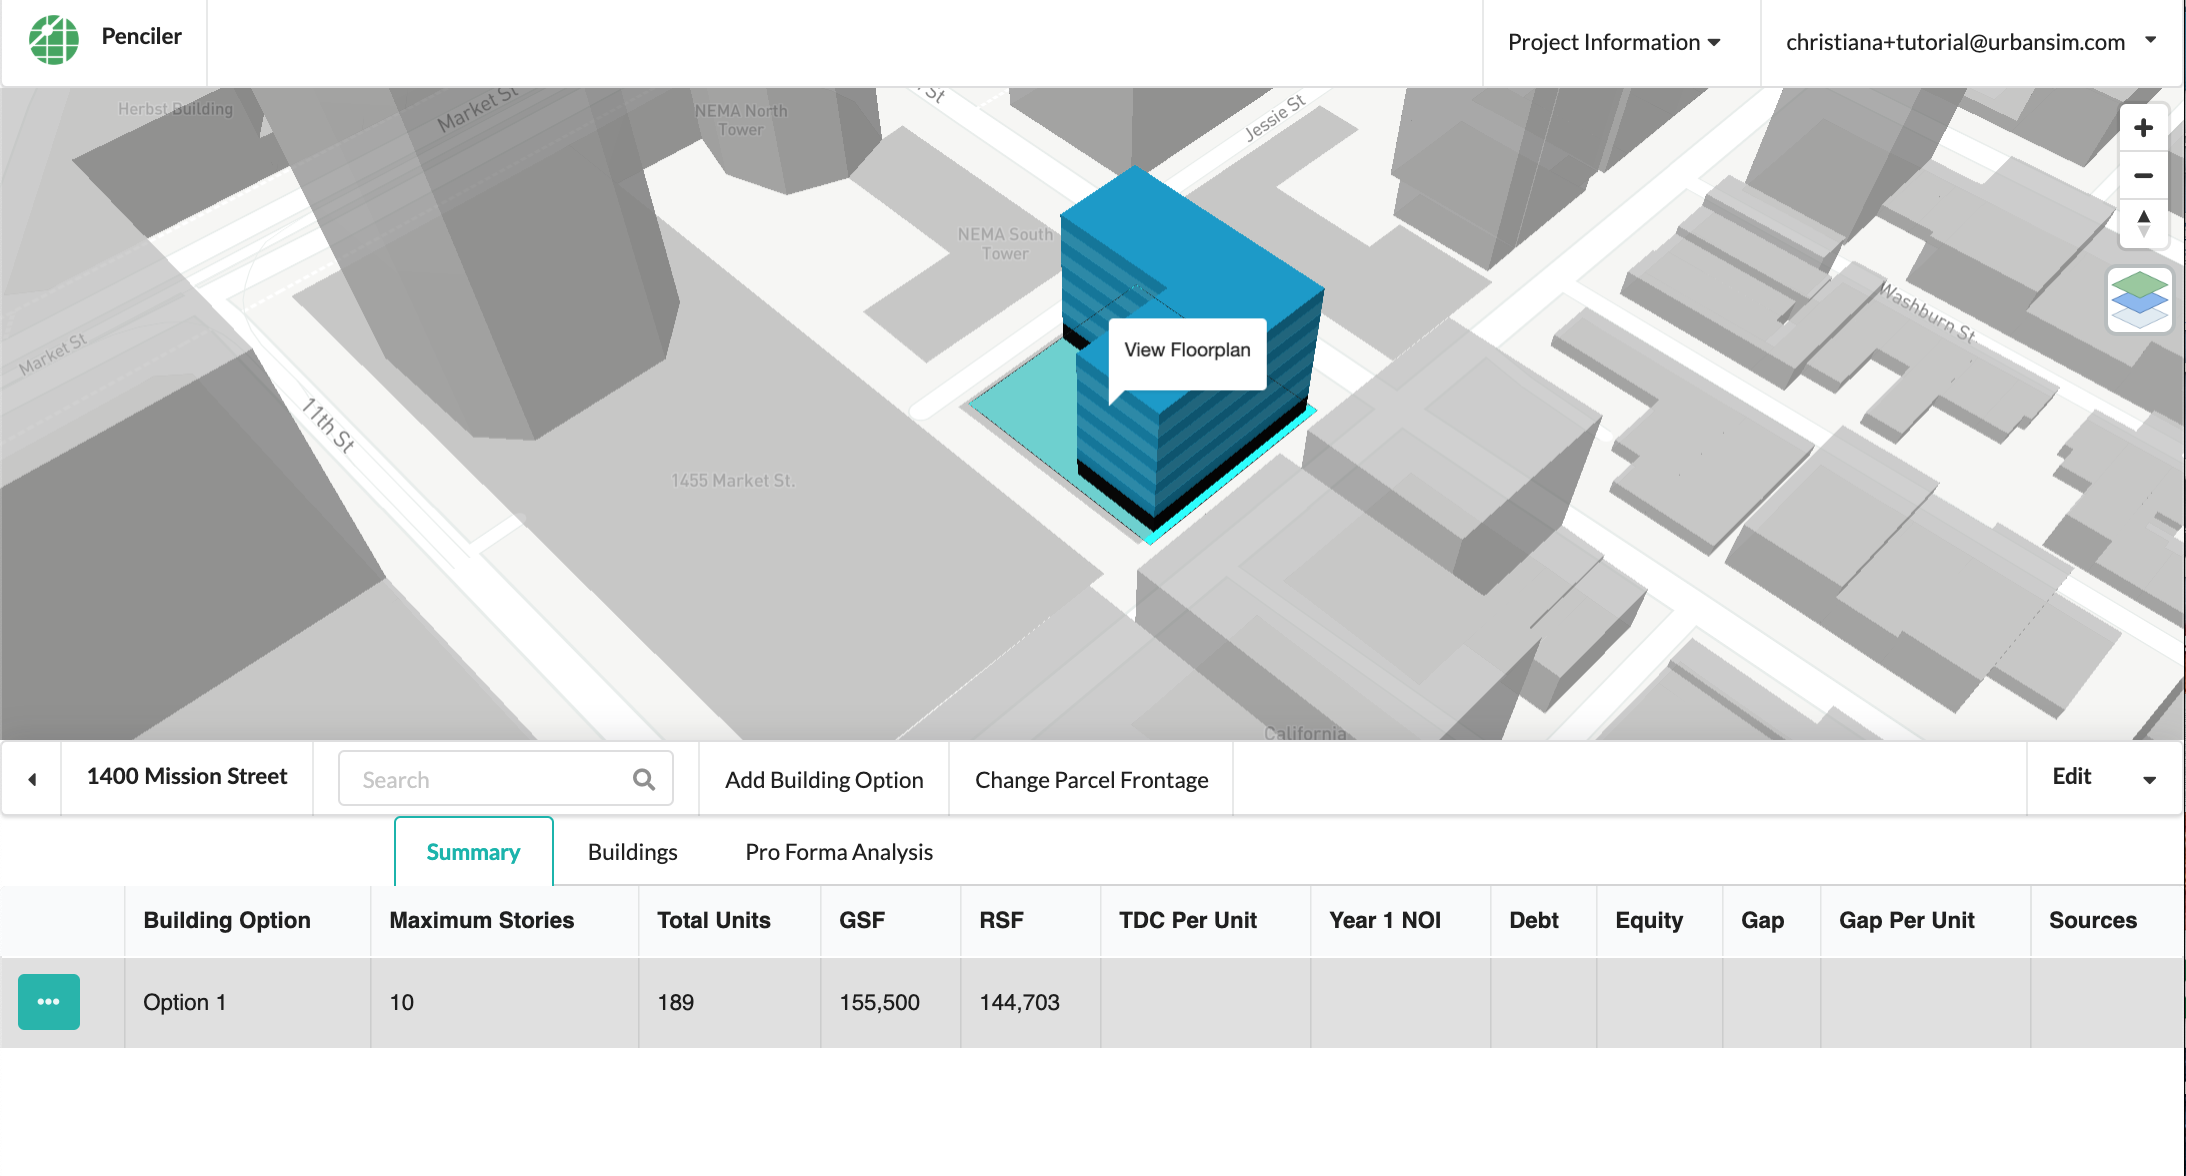
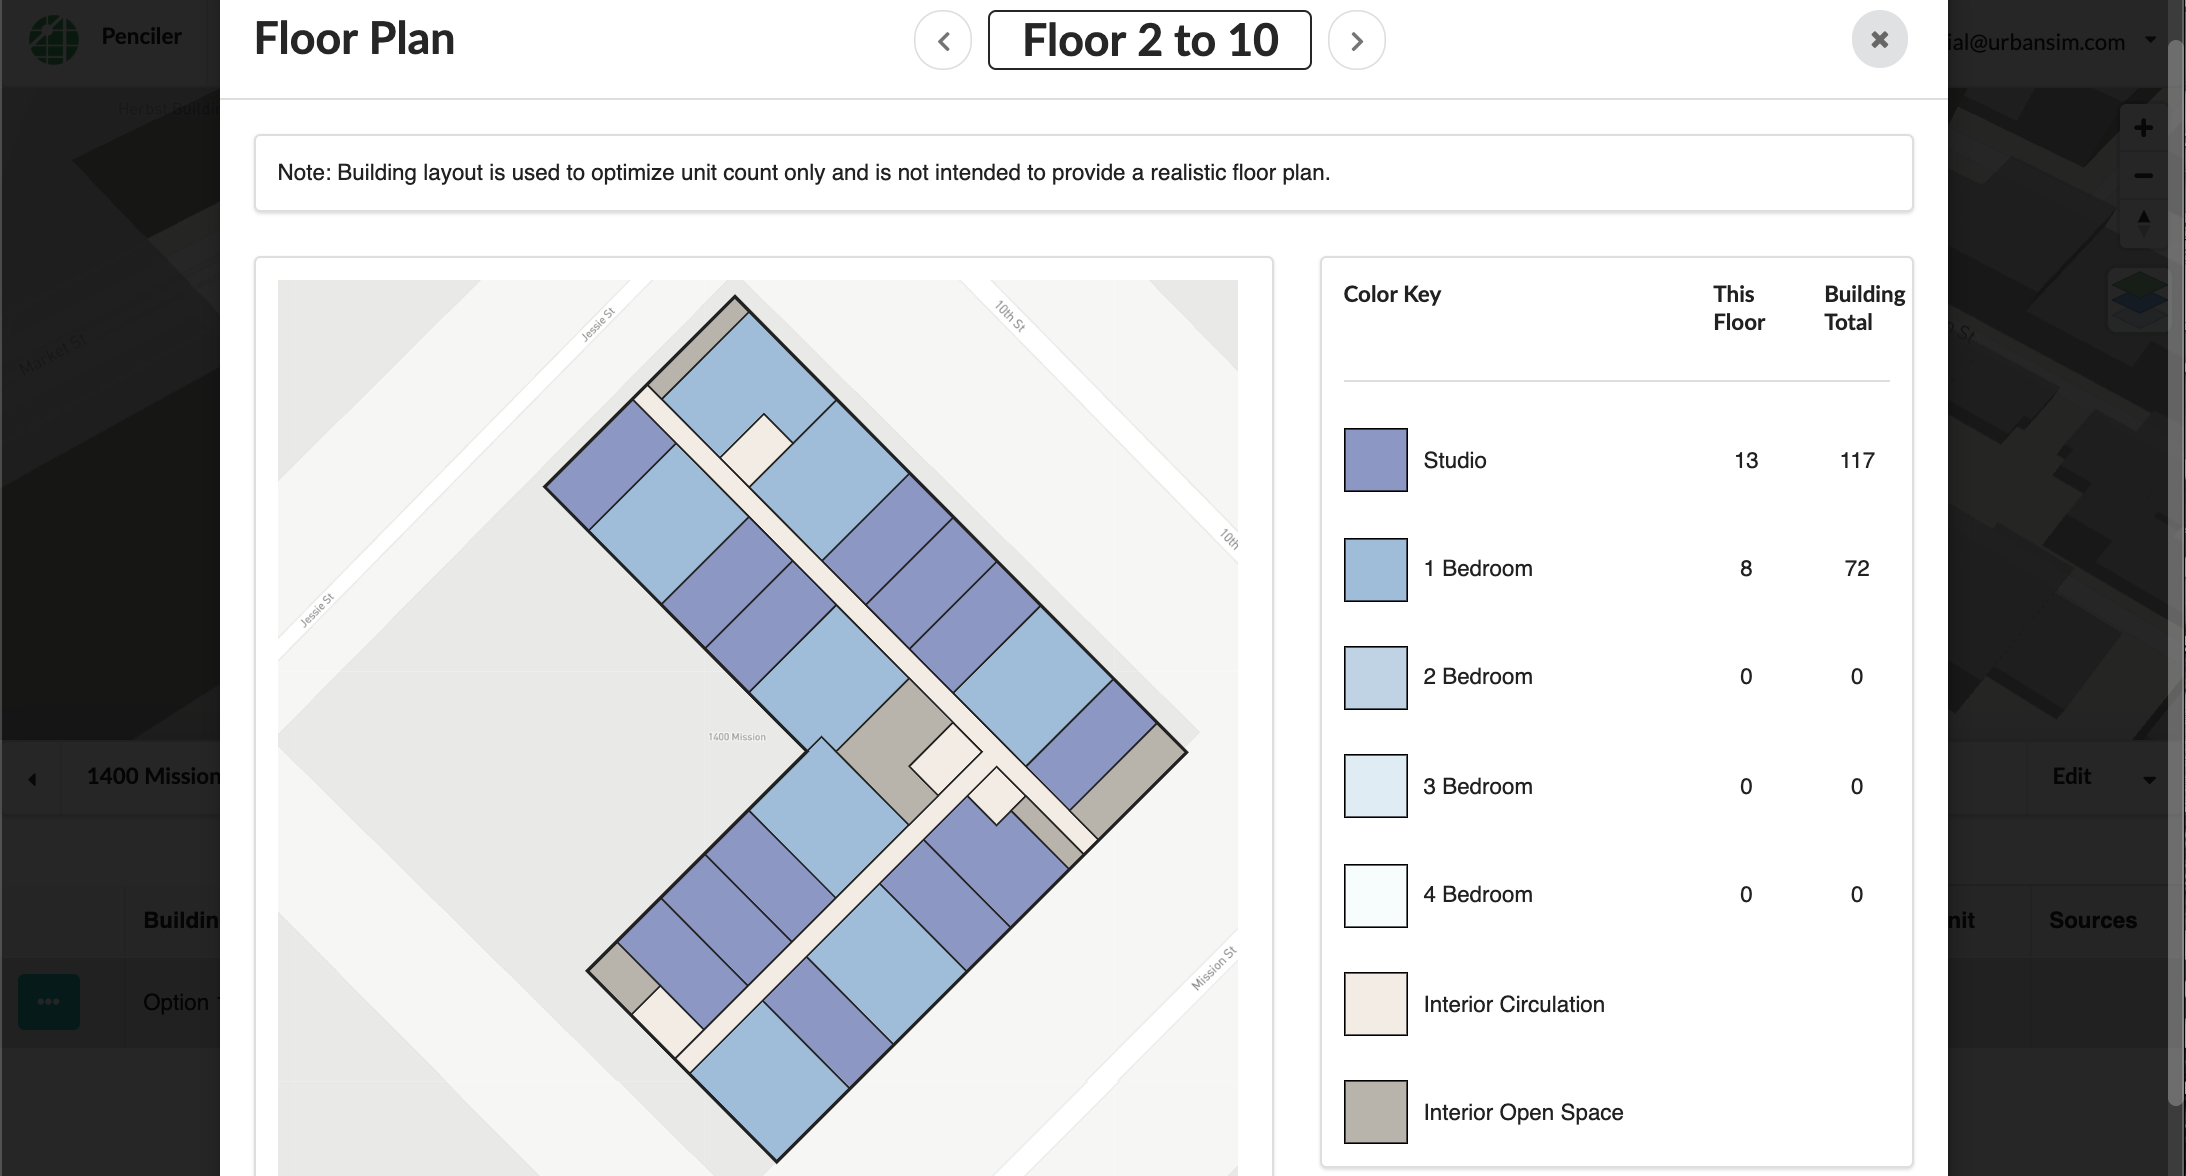
Once you have named your building option, edited your zoning constraints and input your building program requirements, you can create your first building option. Click on the 3D building in the map to see the floorplan:
For more detailed information about creating a building option, see ‘Adding Building Options’. Next, select the ‘$’ in the menu button next to your building option to add financial assumptions:
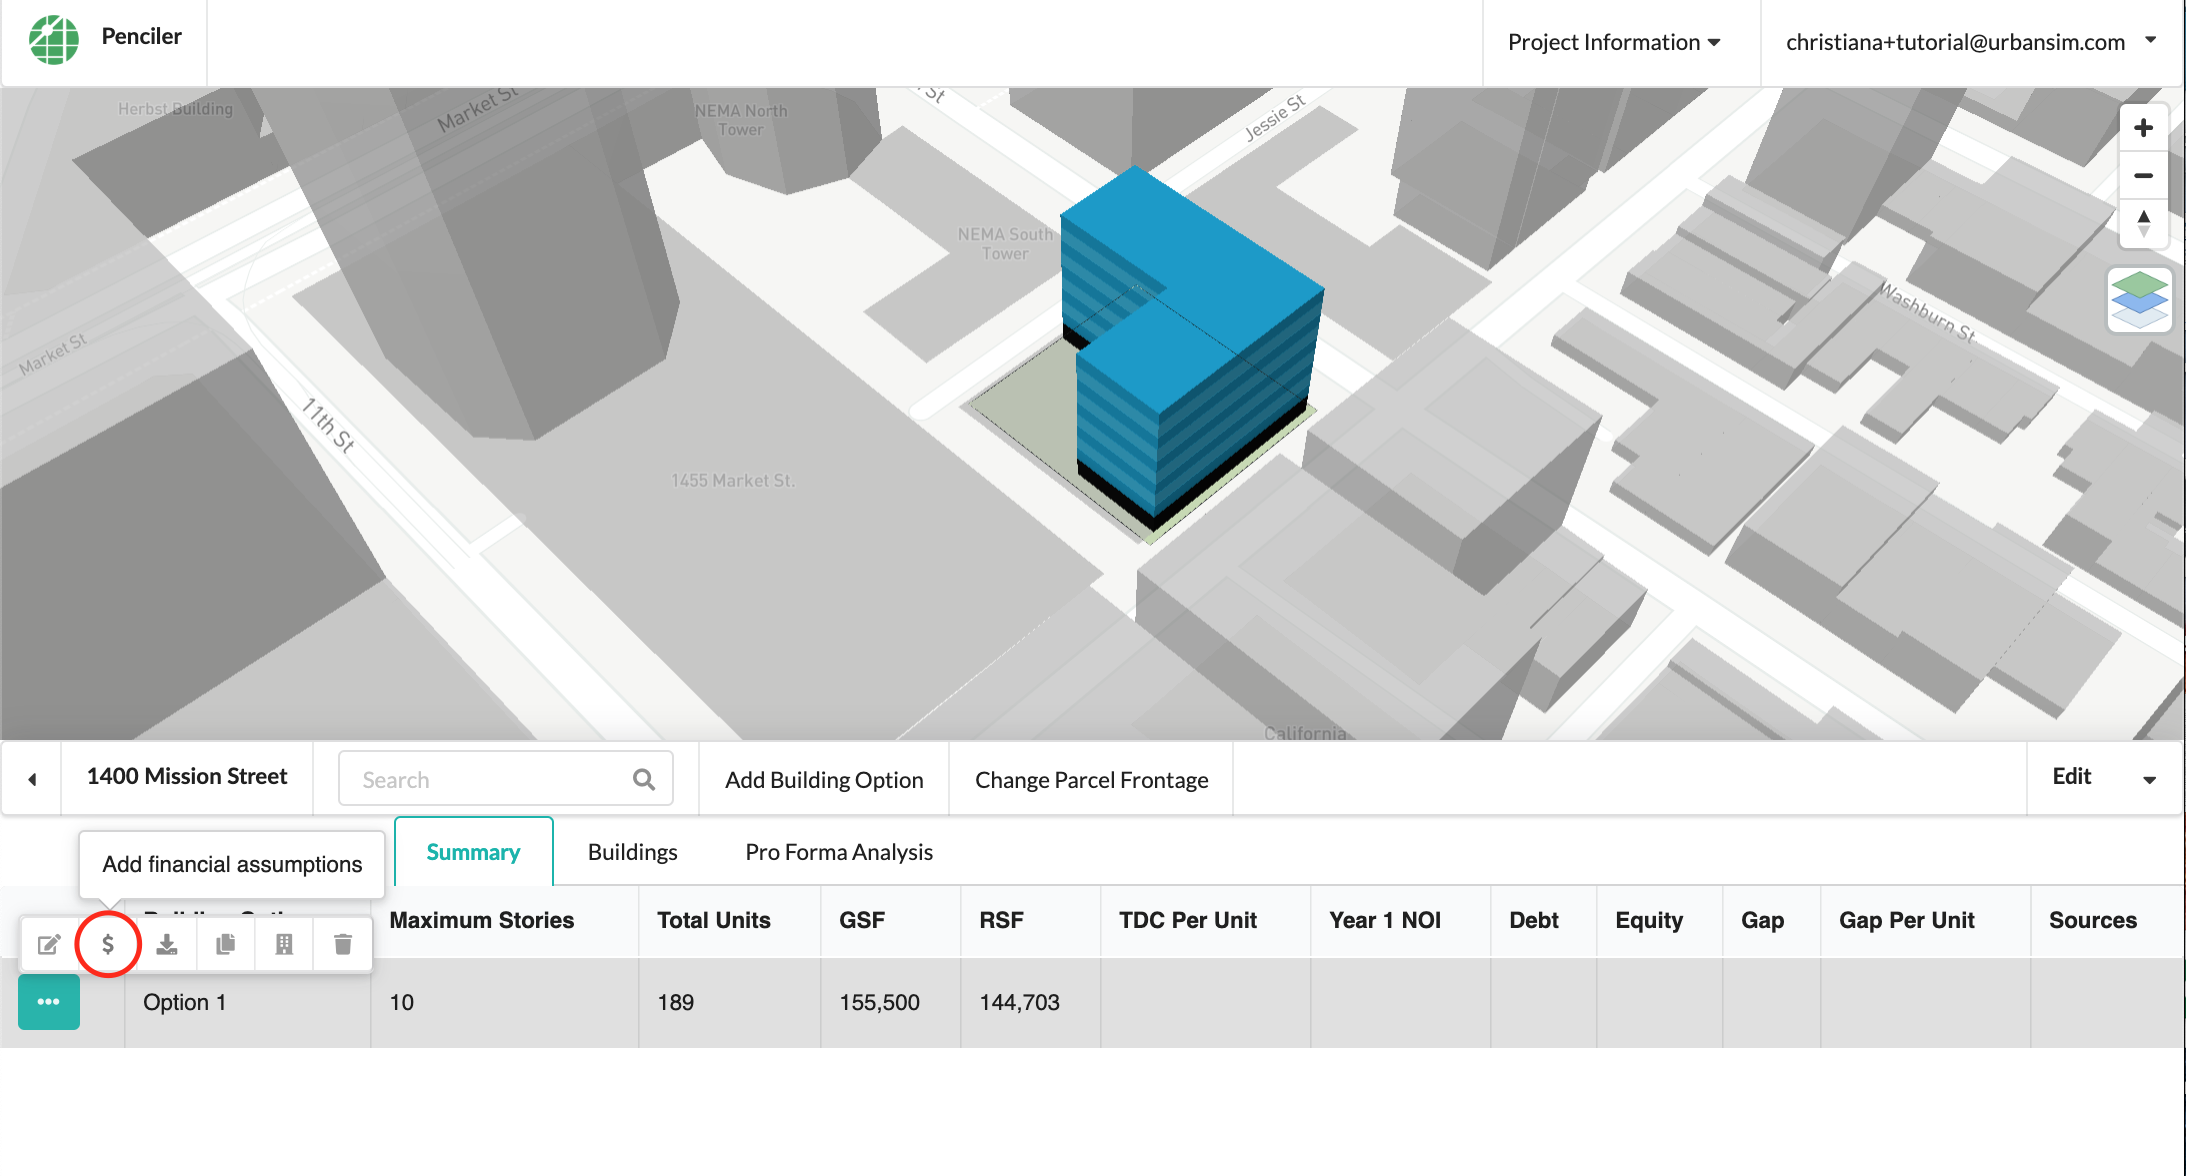
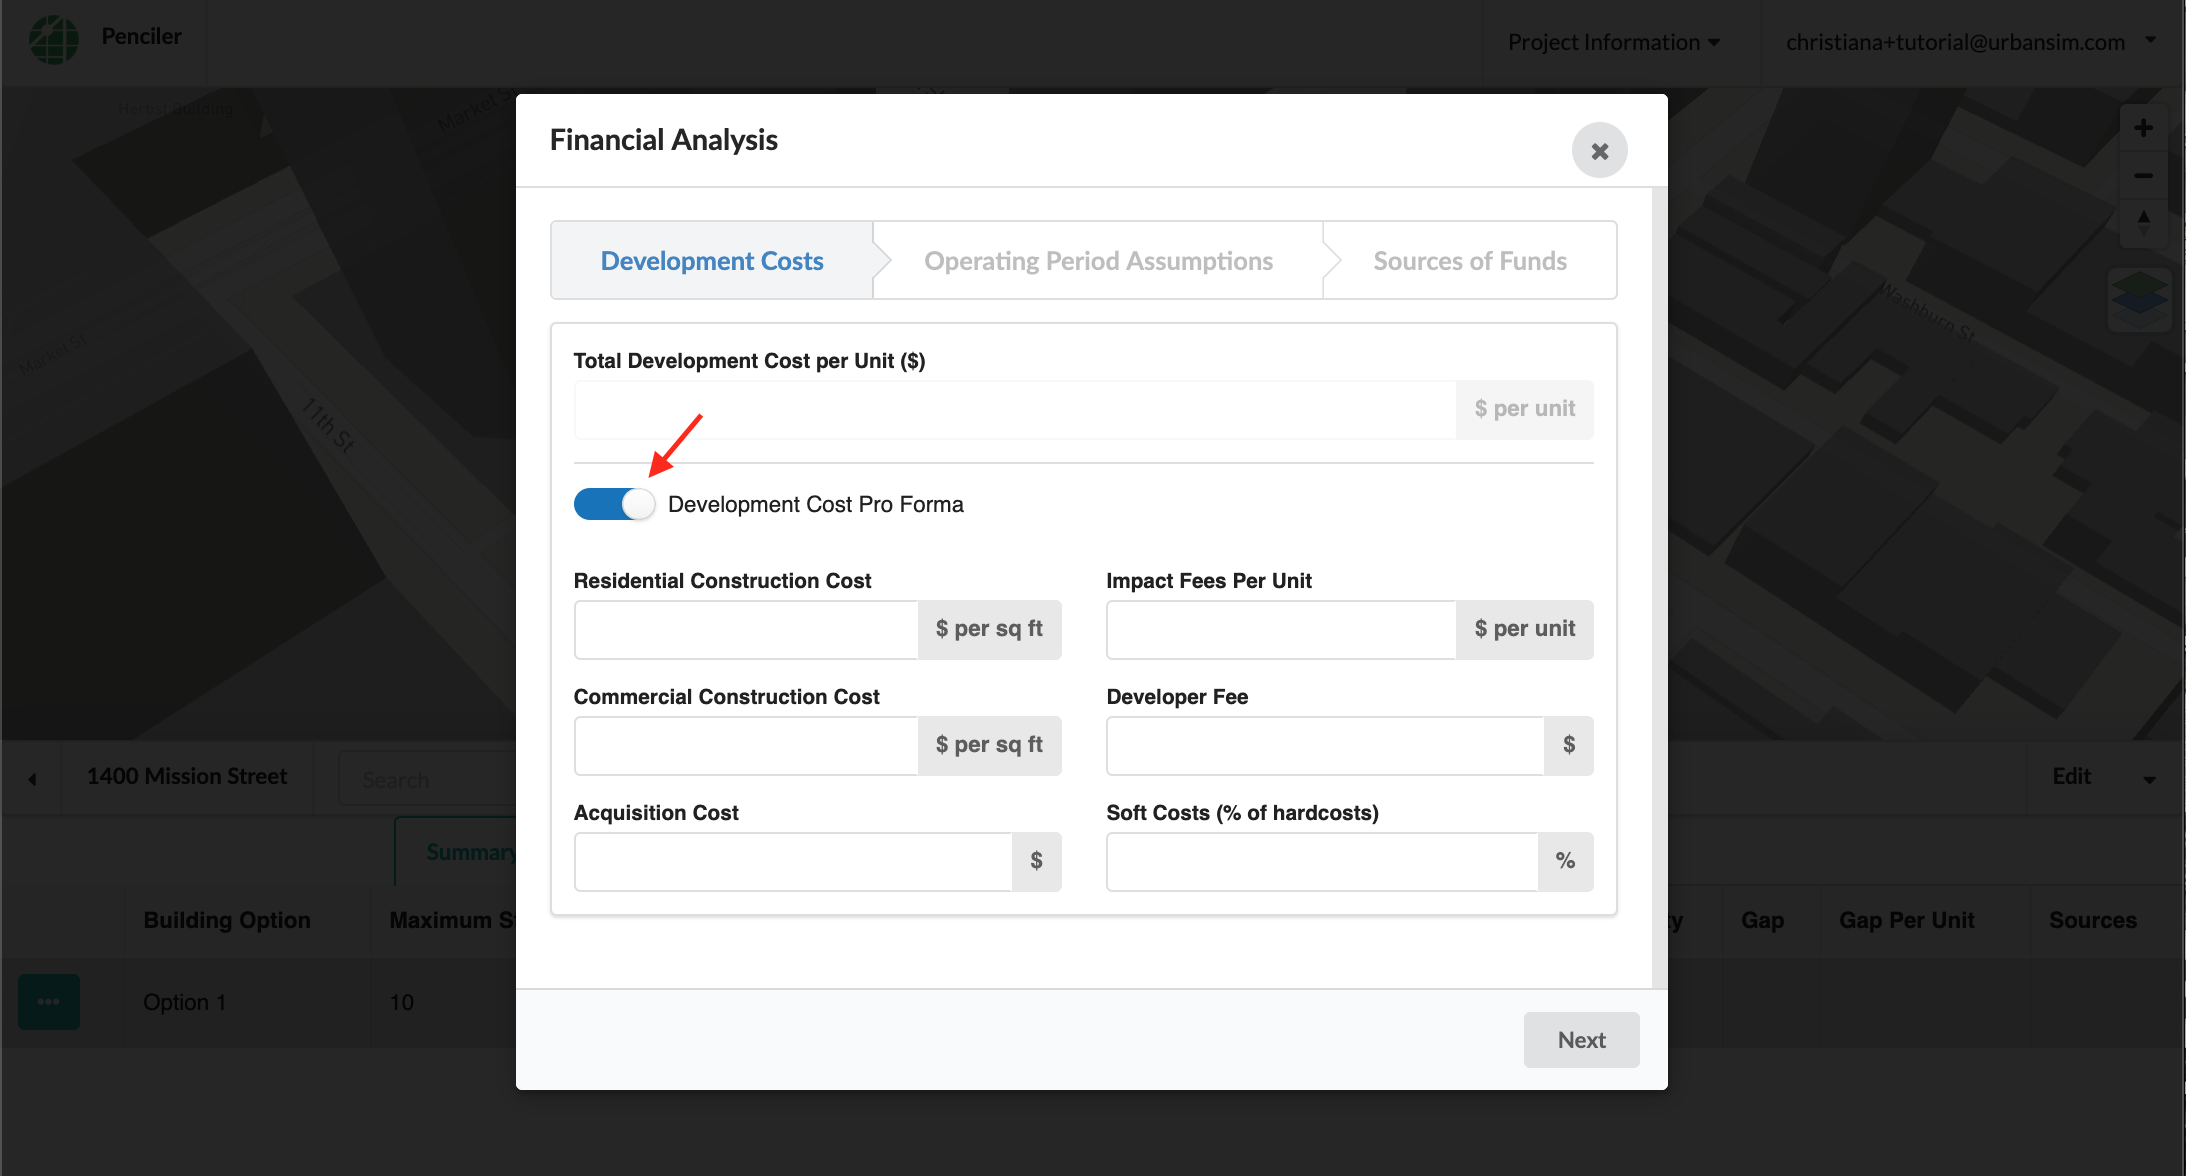
You can either add a total development cost per unit, or toggle ‘Development Cost Pro Forma’ to add more detailed cost assumptions:
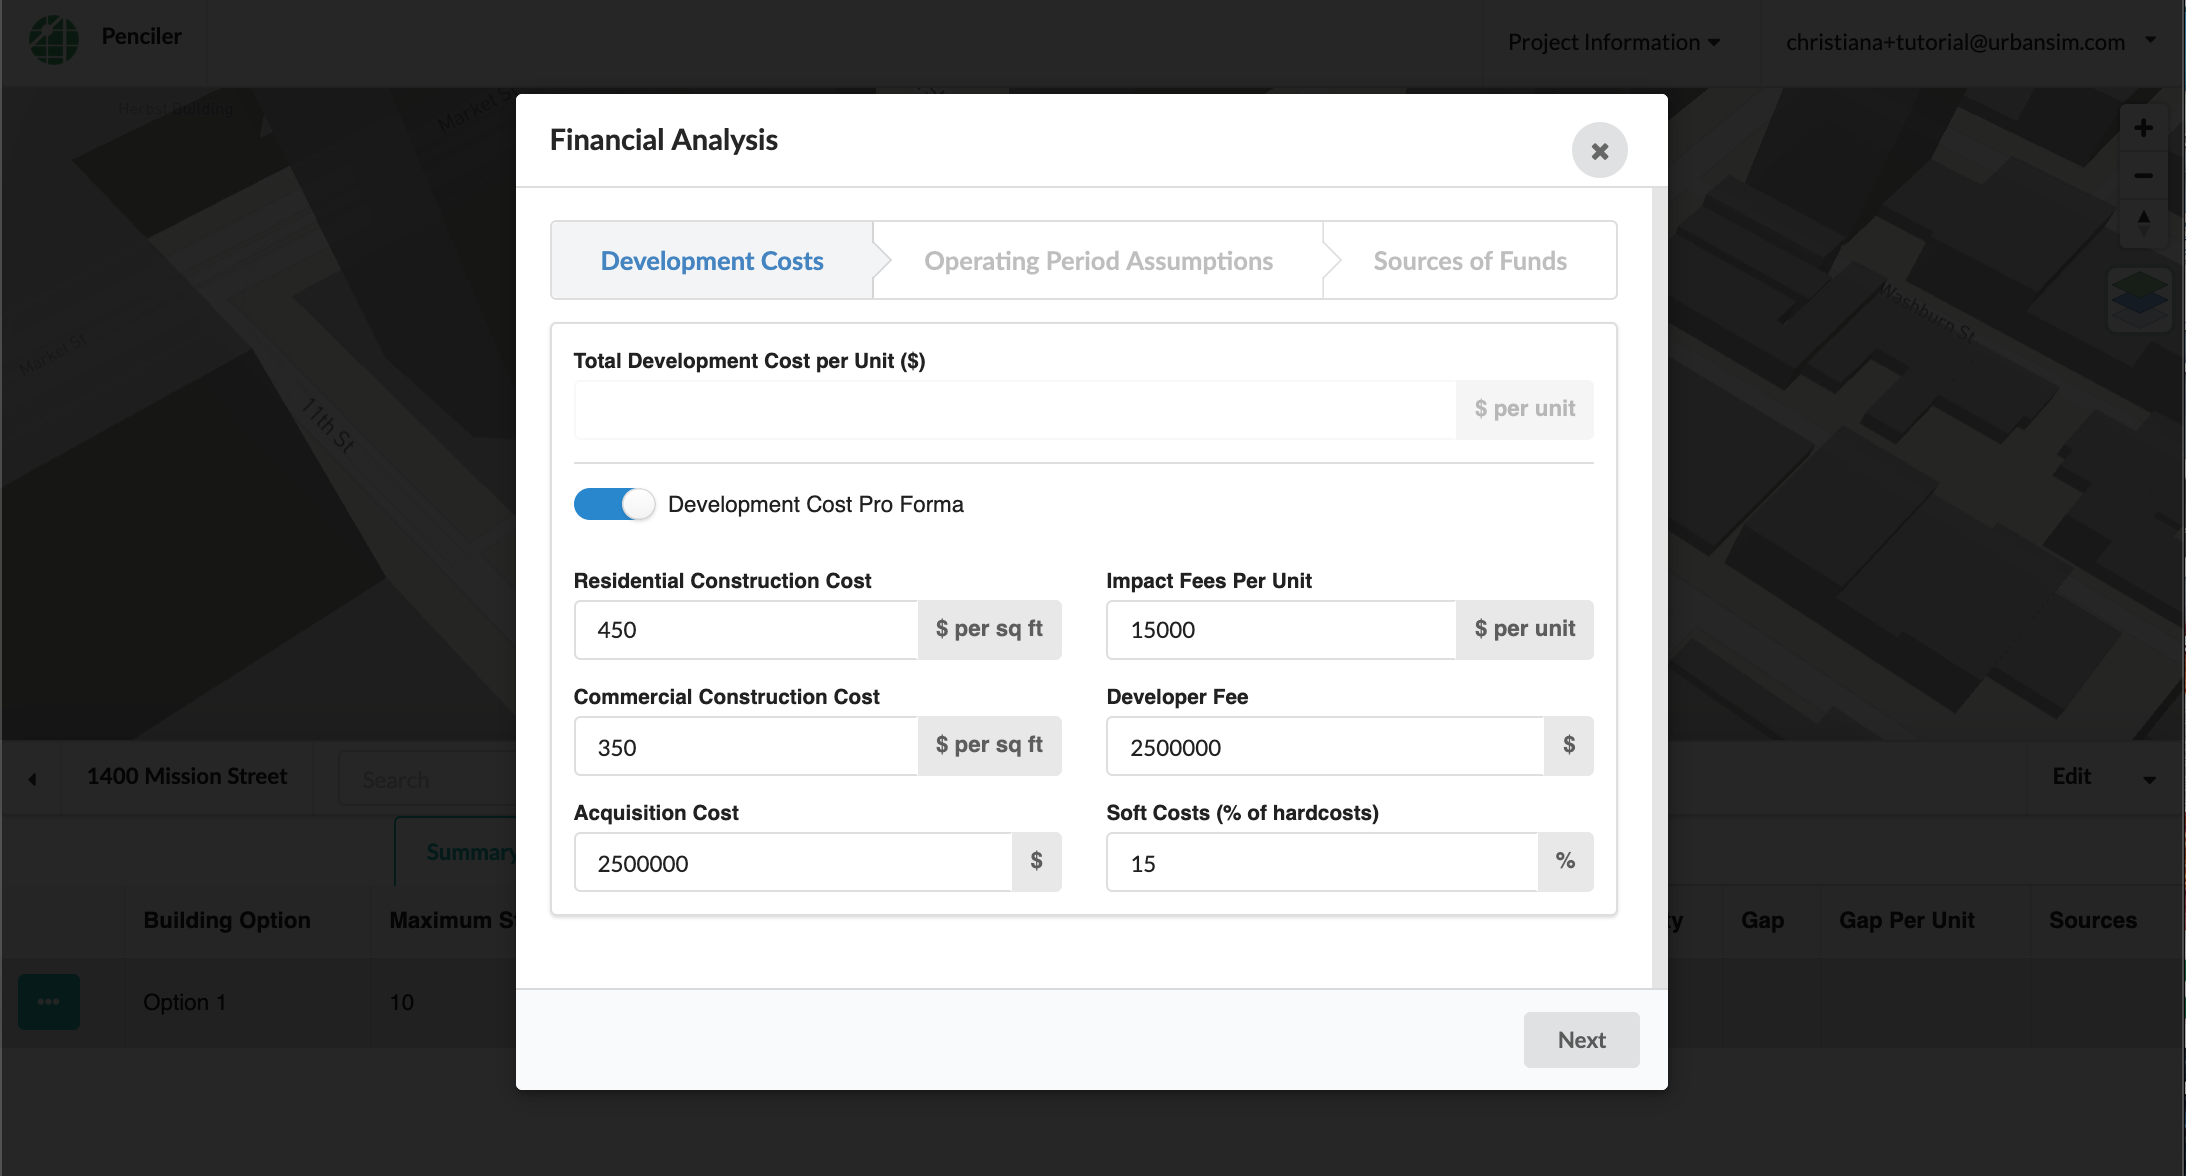
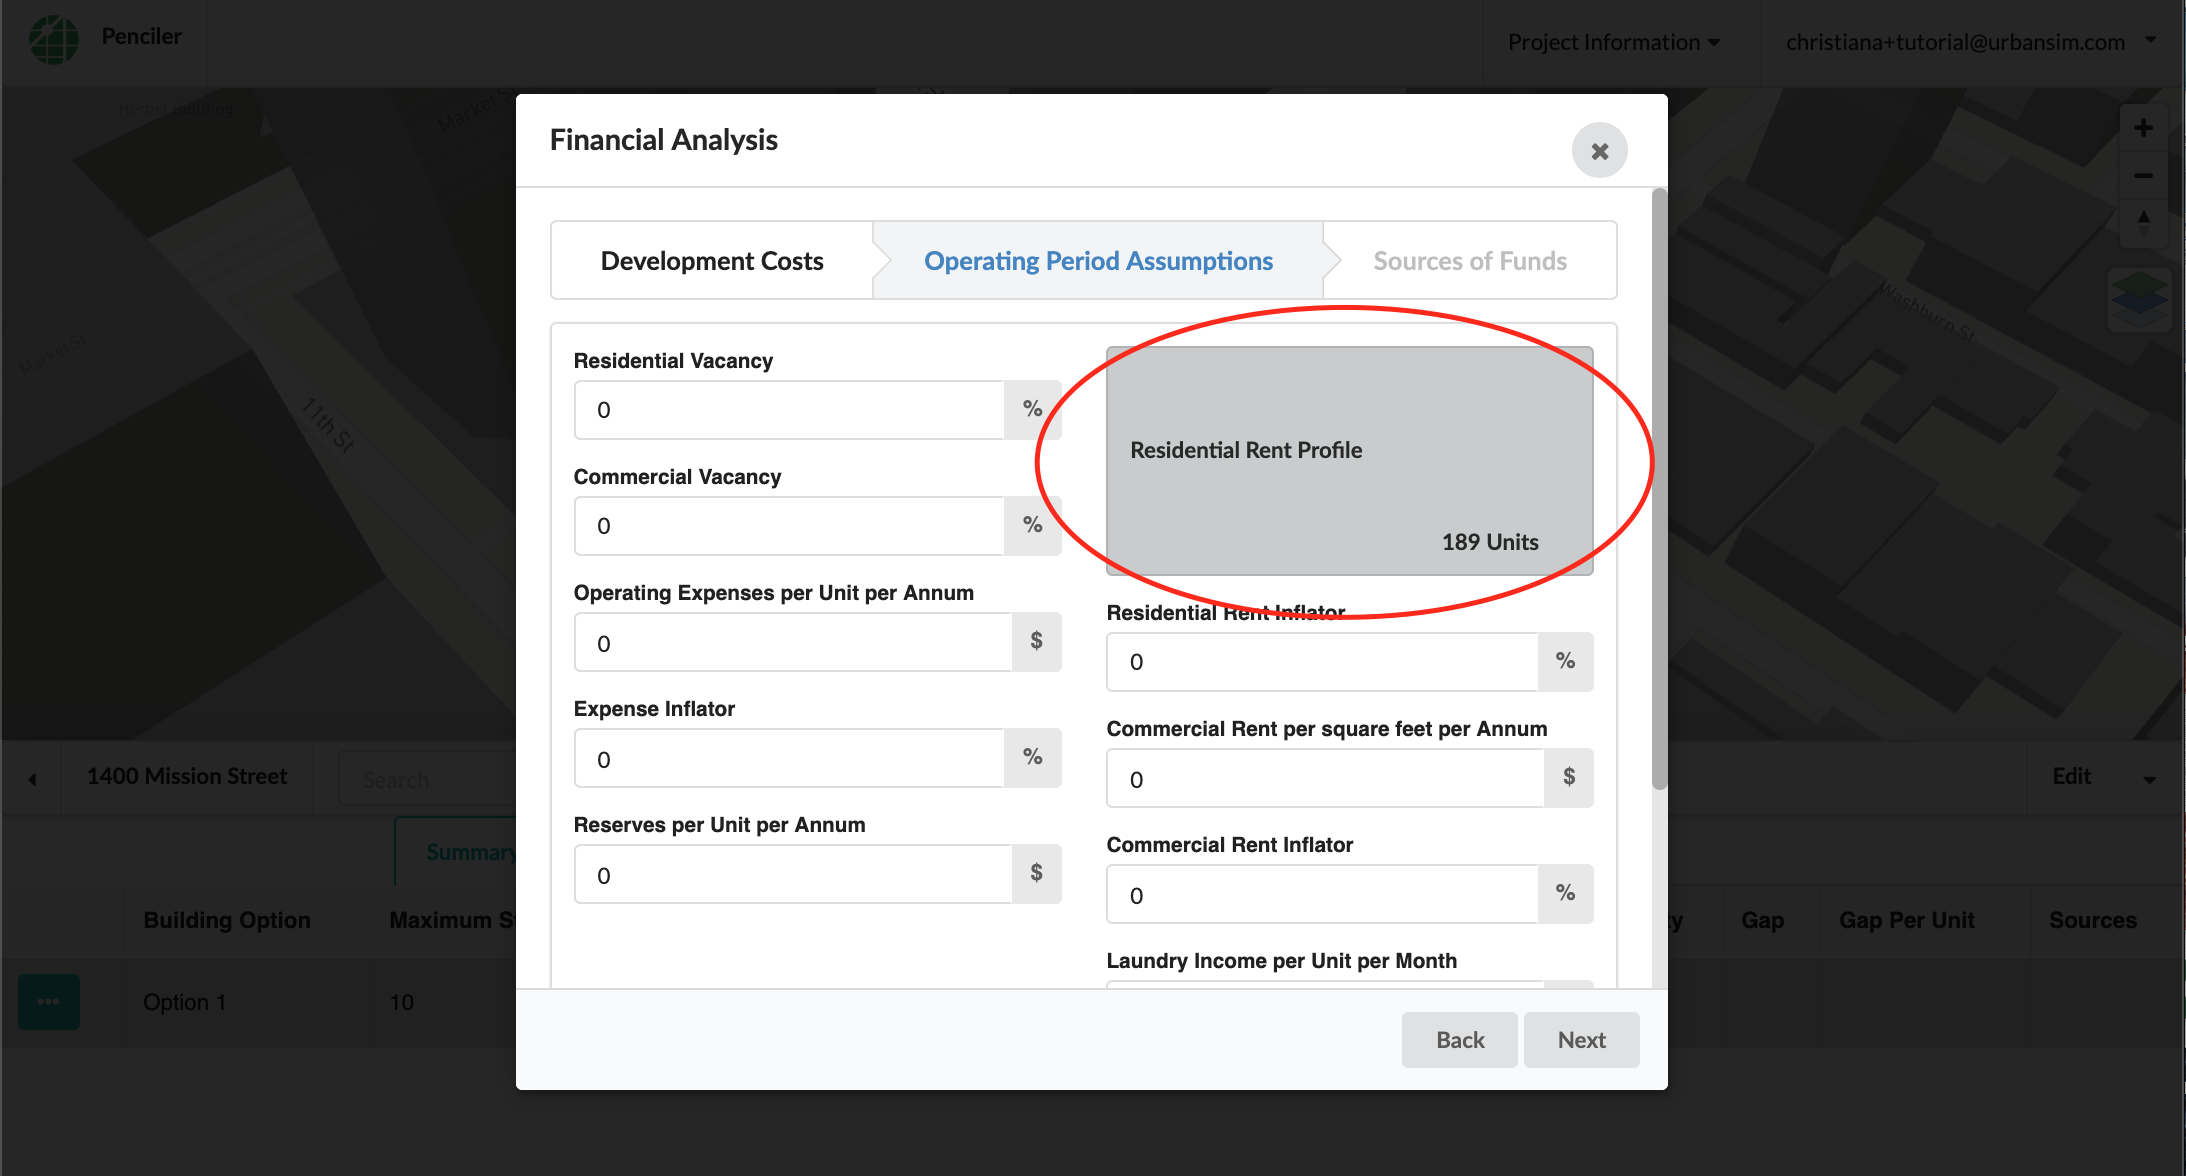
In the Operating Period Assumptions tab, be sure to add a residential rent profile, which is pre-populated with income-restricted rents at different Area Median Income (AMI) levels. You can also input market rate rents or use mixed-income rents by adding different categories for each unit type:
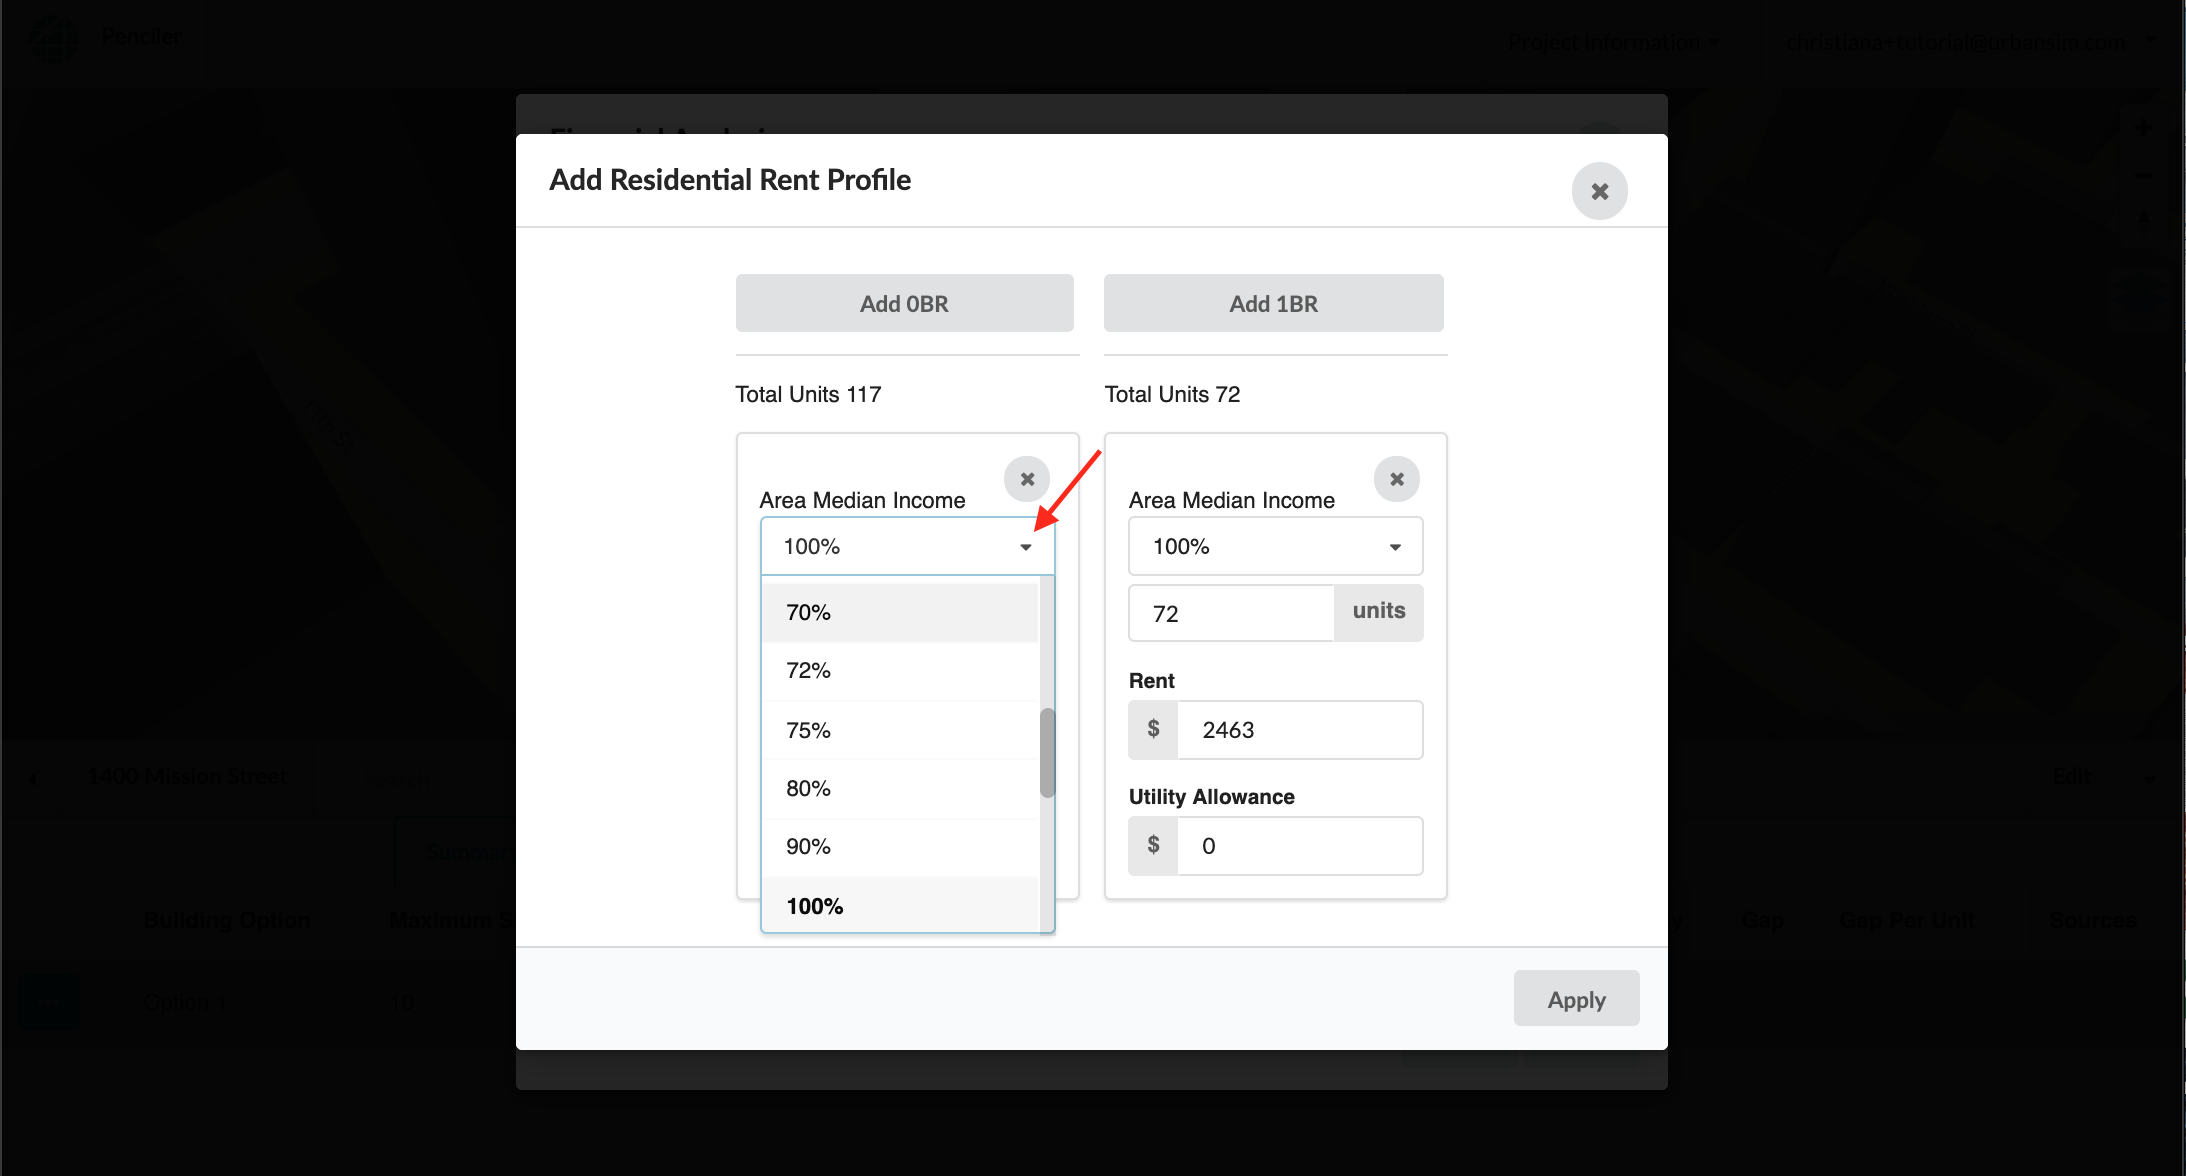
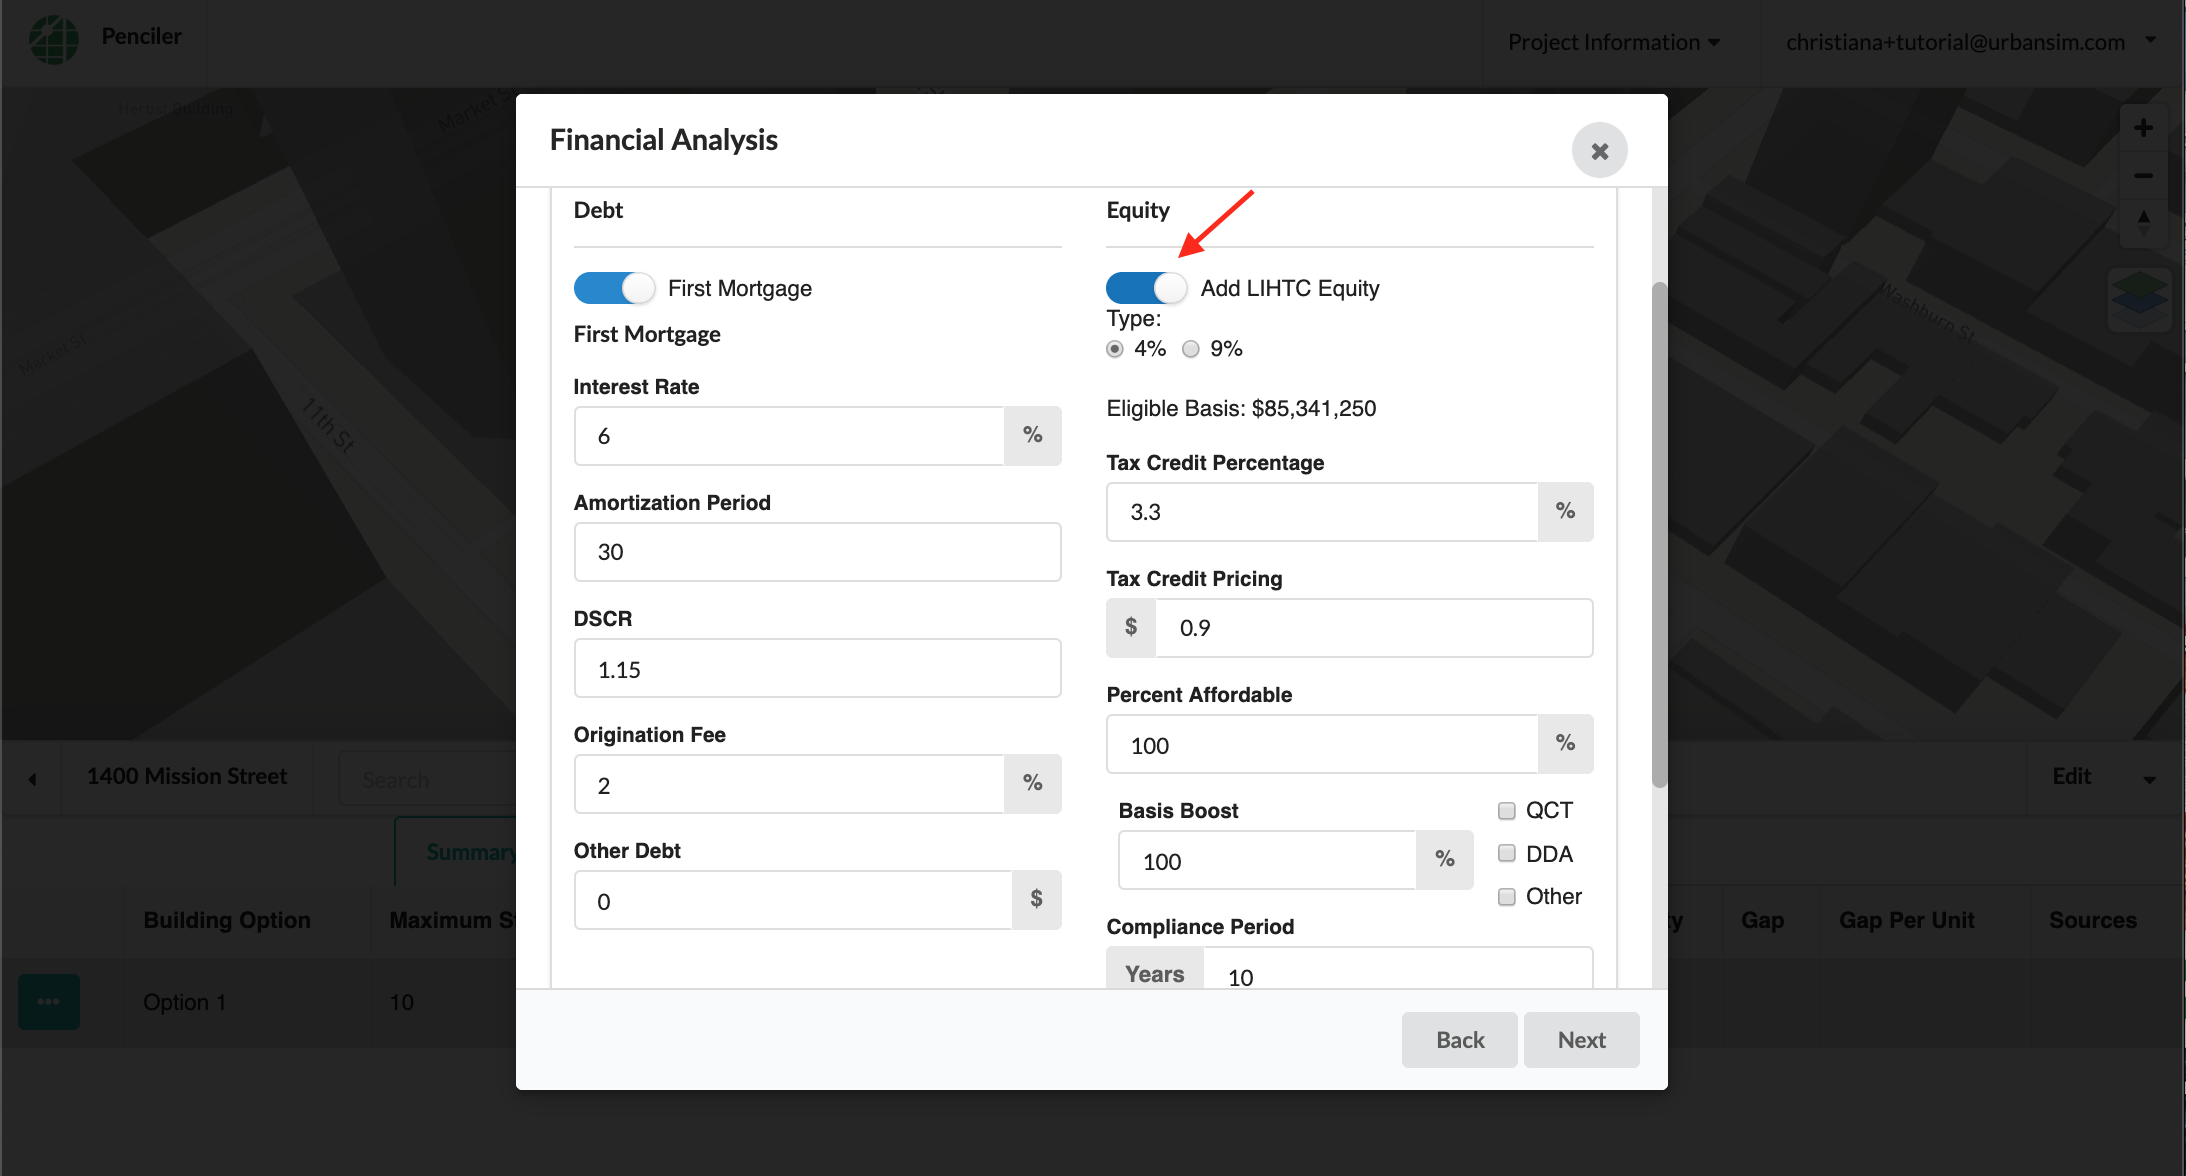
To use Low Income Housing Tax Credits (LIHTC) as a primary source of equity, toggle ‘Add LIHTC Equity’:
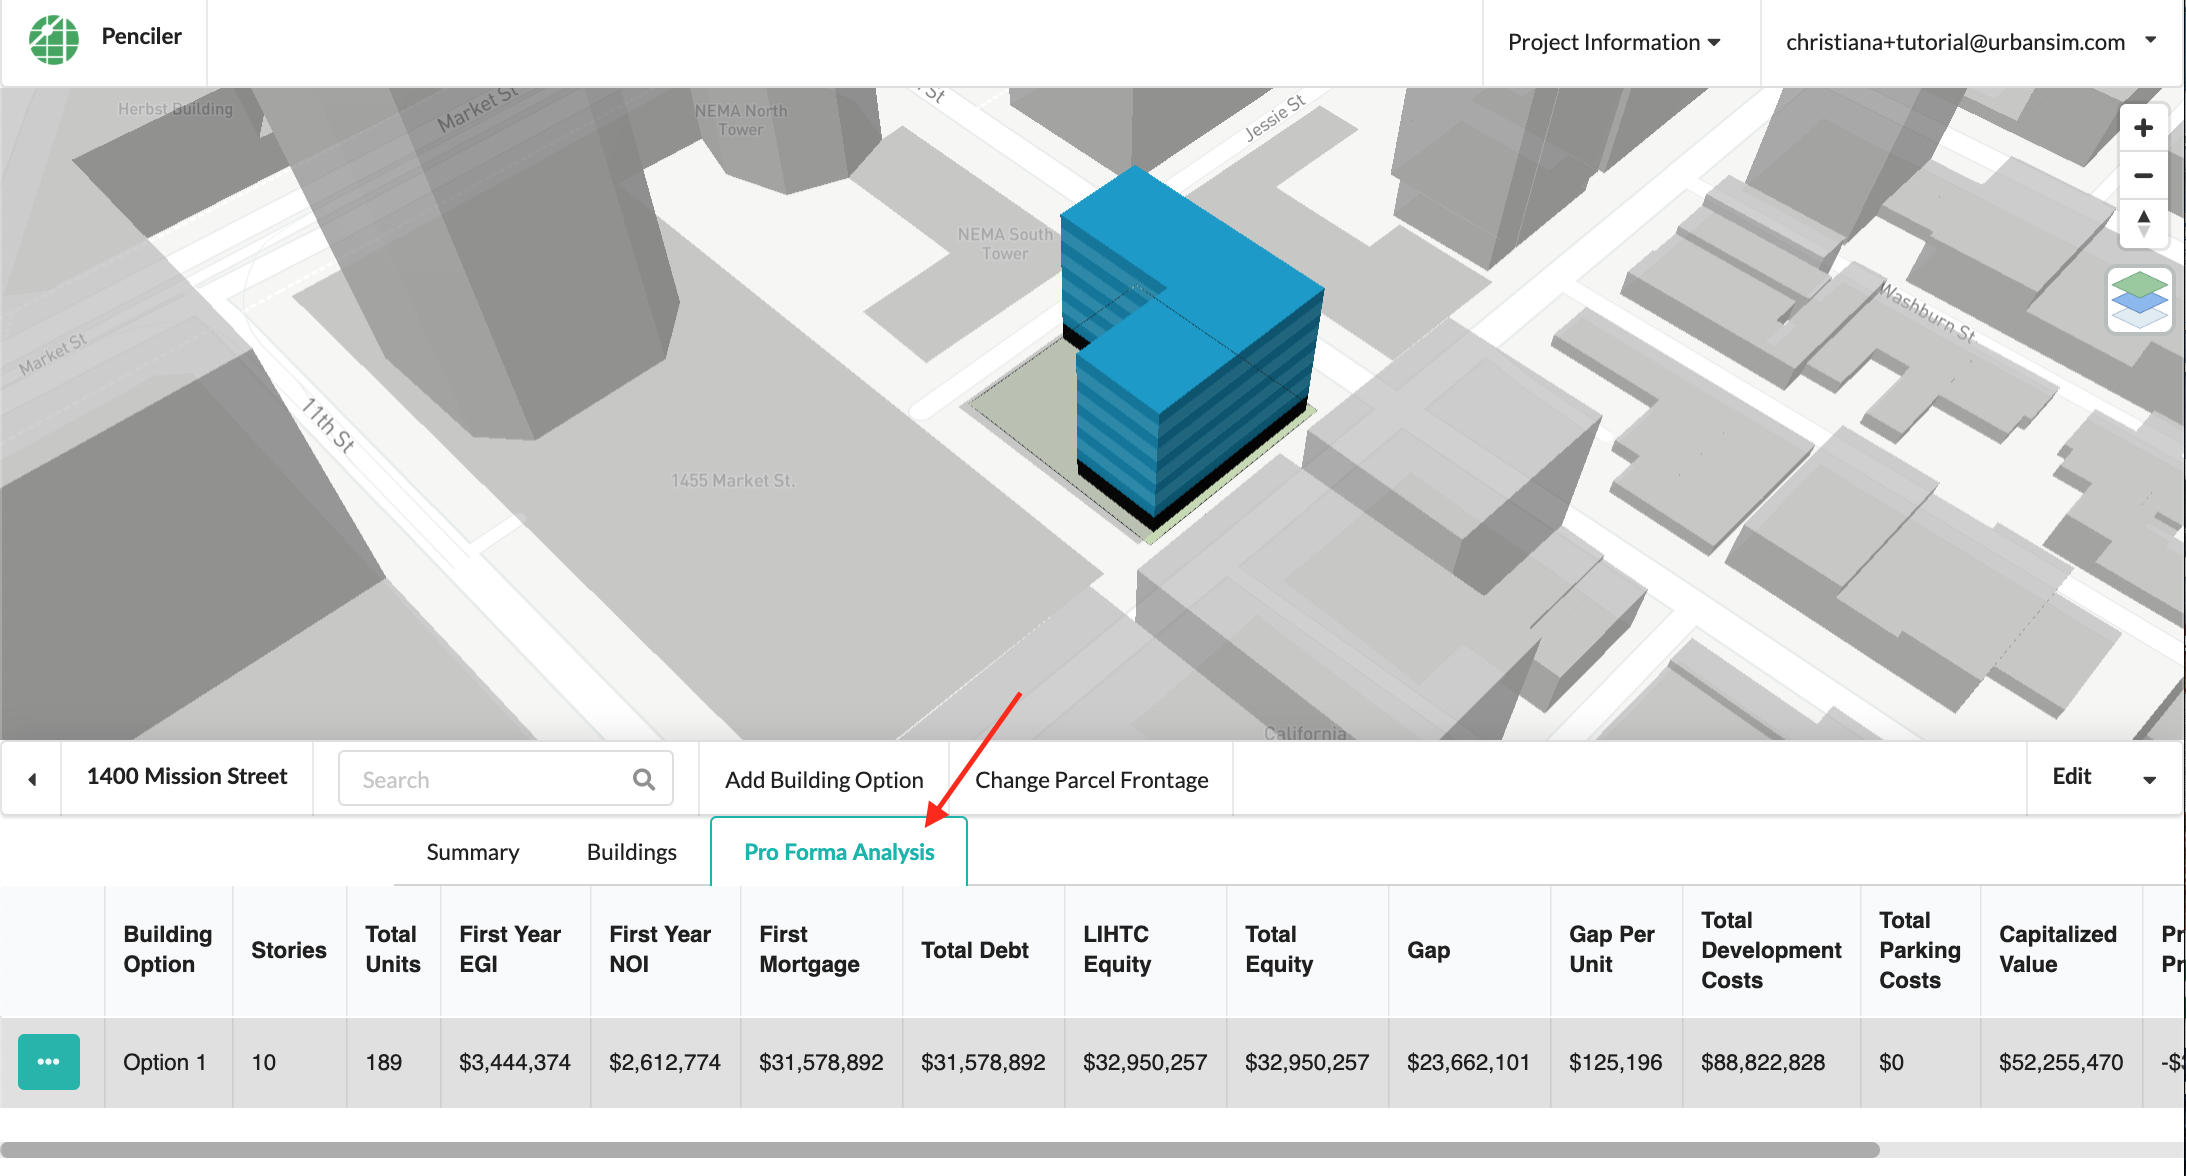
After inputting the remaining financial assumptions, you can see the pro forma outputs in the ‘Pro Forma Analysis’ tab on the project home page:
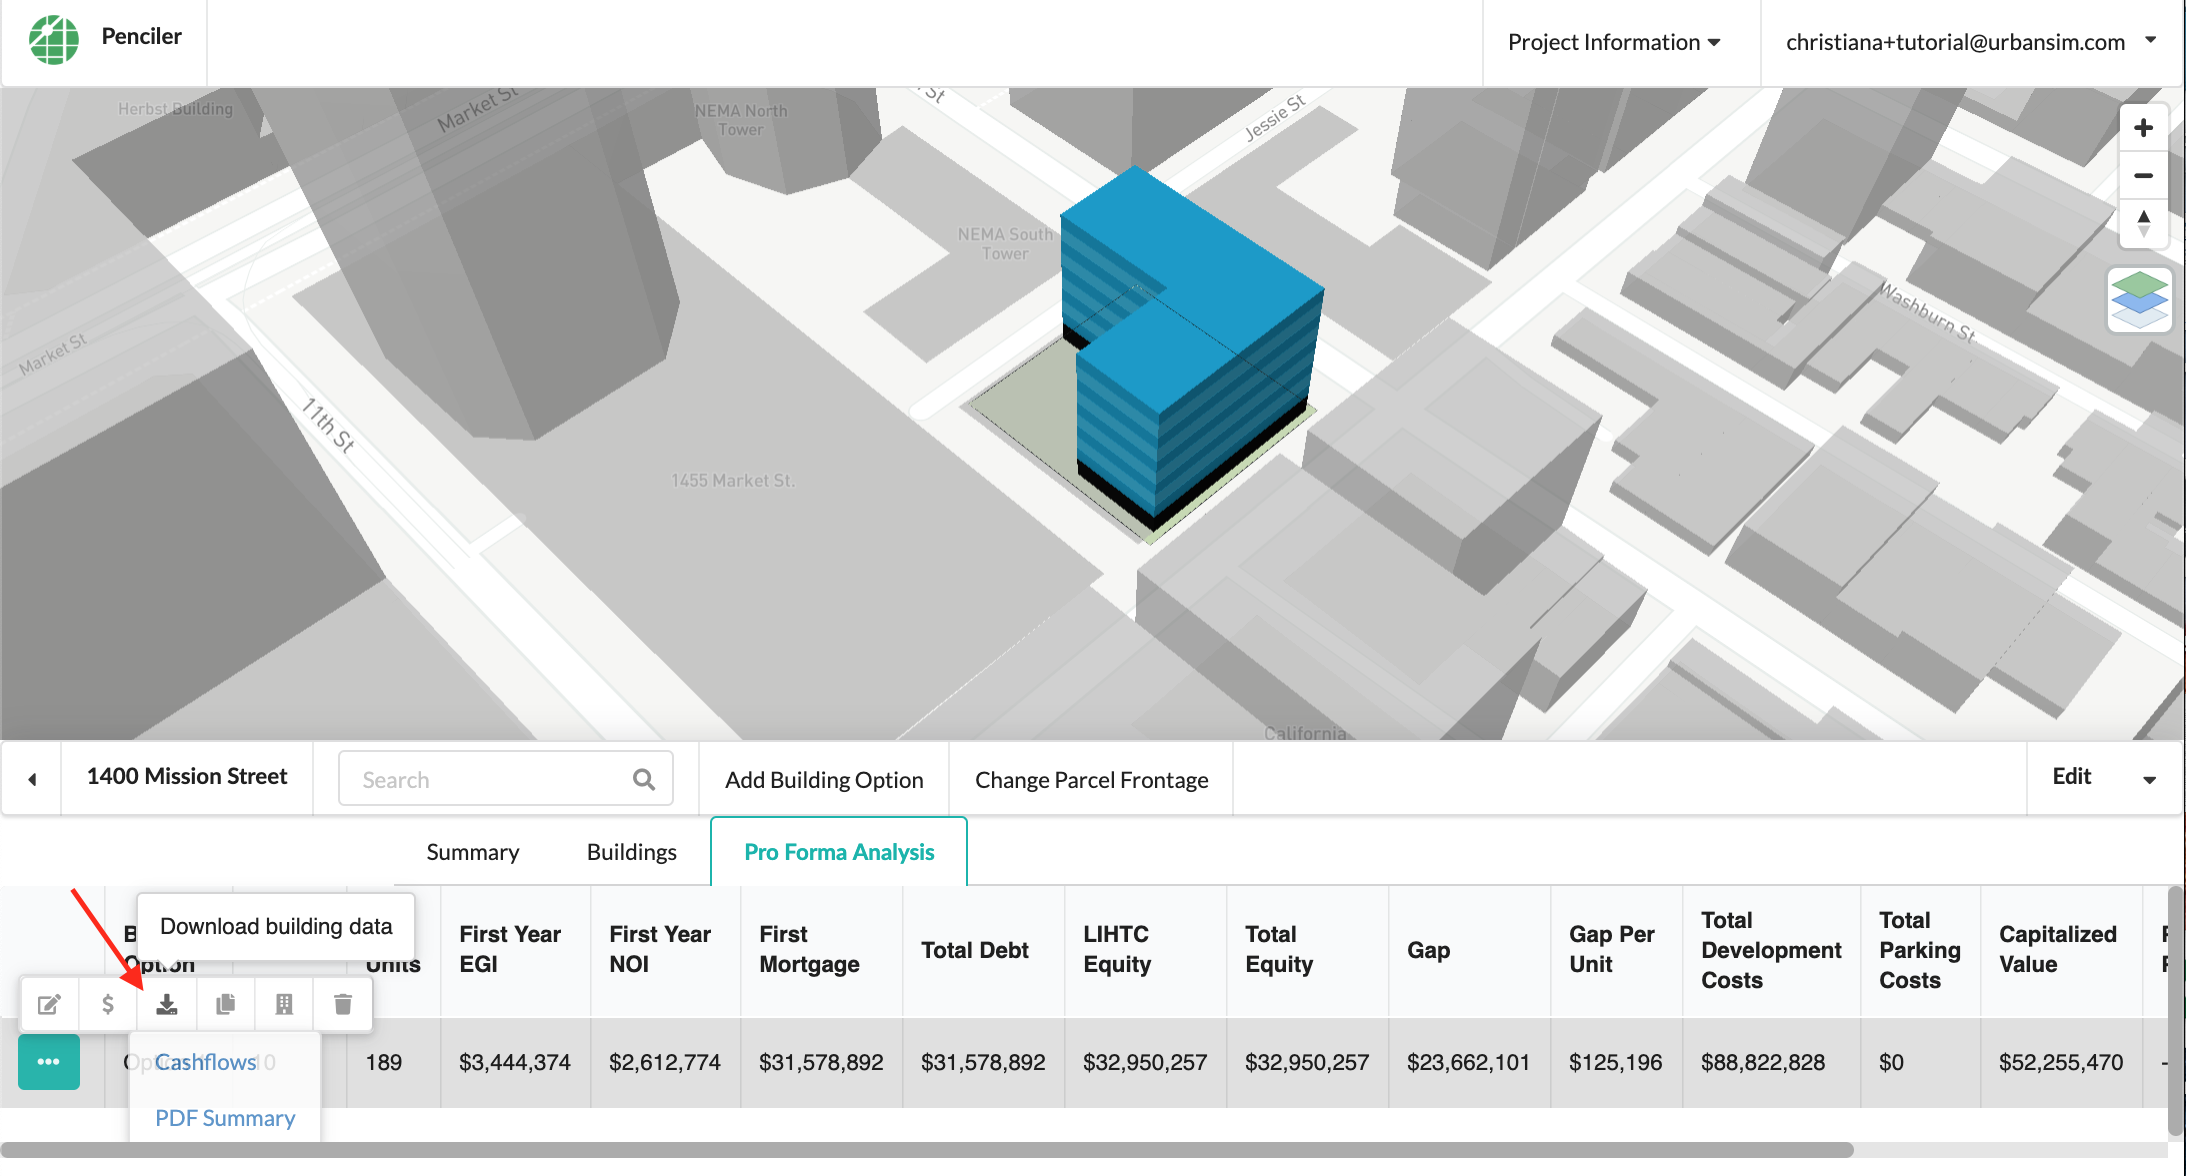
To download a 20-year, pre-tax cash flow or PDF summary for your building option, click here:
For more detailed instructions about using the pro forma analysis tool, see here. To add another building option, simply click ‘Add Building Option’.